Monday, January 11, 2016

4 – 2 = 4 : (

Read the Tutorial: Less-Work Patchwork Hearts

If you’re new around these parts, you need to know that I’ve declared war on my jelly rolls. Back in November I took inventory and decided to sew with my four stashed jelly rolls, which resulted in this quilt and this quilt.

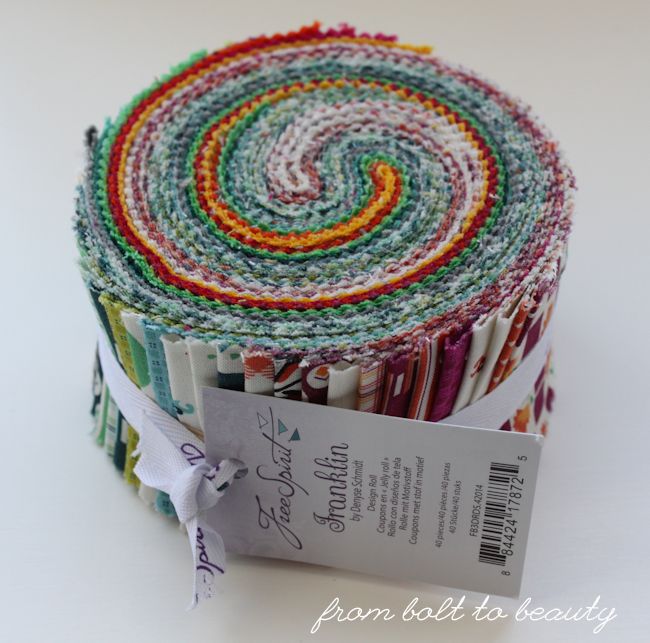
Two noteworthy events have happened since those triumphs. First, I found that I had another jelly roll, an all-white Bella solid roll, lurking in my fabric storage. Bah! And then, lured by the promise of 50 percent off, I bought this jelly roll at a New Year’s sale. In other words, I have exactly the same number of jelly rolls I thought I started off with back in November. Double bah!
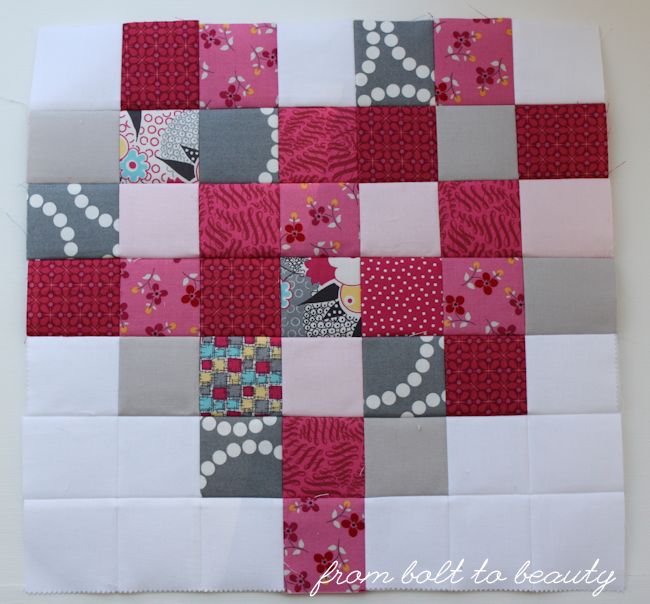
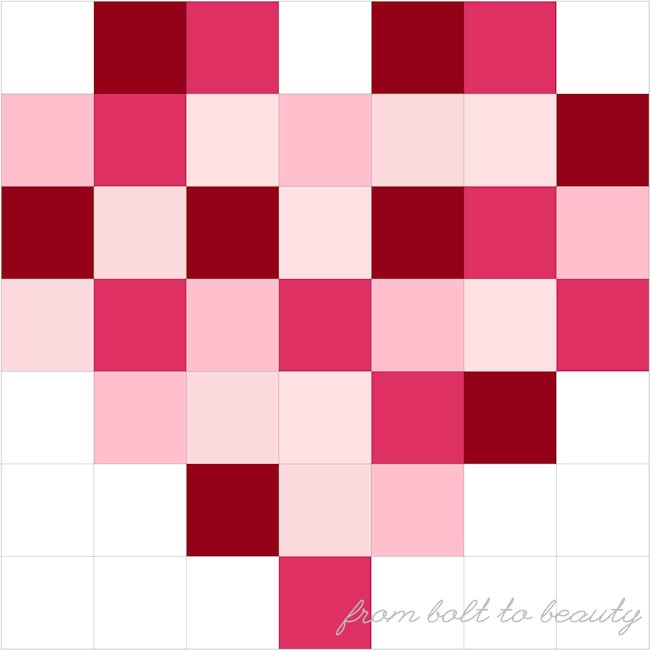
To chip away at those white jelly roll strips, I started playing with pixelated hearts. For the record, I am not a fan of heart anything, but using a mini-charm pack of Jen Kingwell’s Gardenvale as the inspiration for my palette, I had a lot of fun planning these blocks.


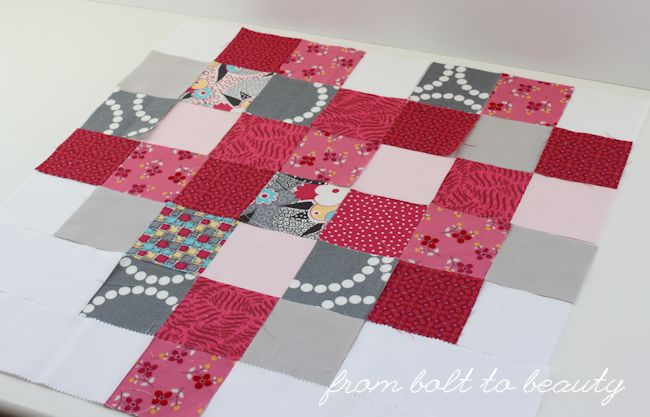
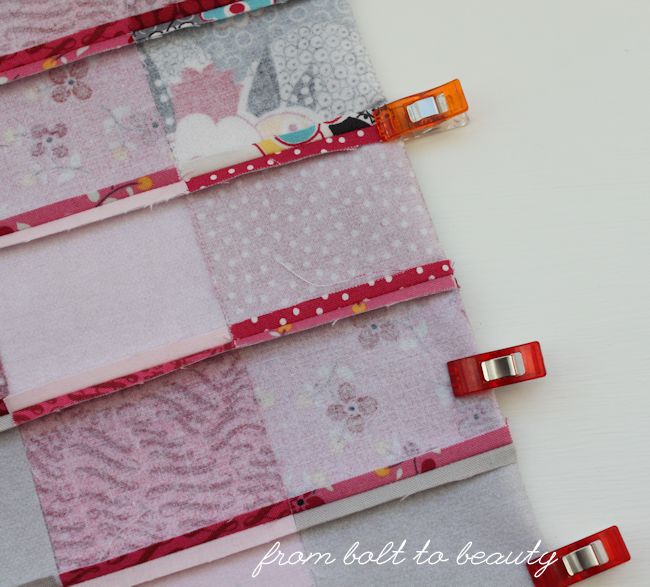
The sewing was fun, too, because I used the super-sneaky way of piecing simple patchwork. I discovered this shortcut years ago on Posie Gets Cozy. (A friend said she first learned of it on Elizabeth Hartman’s blog.) The idea is simple: You iron your squares to a piece of fusible interfacing, fold along a long seam, and sew.

In the past, I used Pellon’s featherweight interfacing and pressed my seams to the side. It worked fine for, say, a pillow, but there was too much bulk for me to try it on a full quilt. In my latest foray into this technique, however, I used Pellon’s ultra lightweight fusible interfacing. It made all the difference.
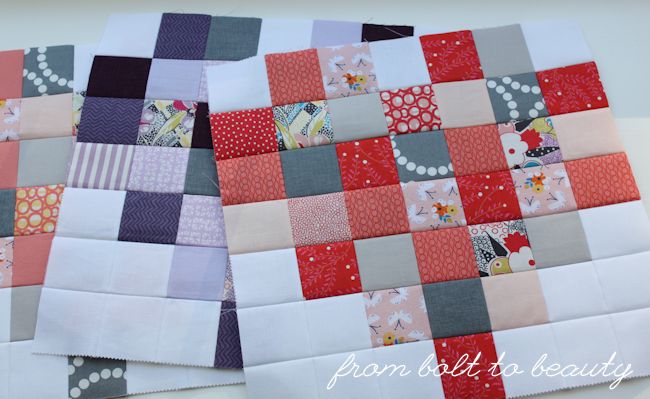

Want to give this shortcut a shot? Check out the accompanying Tutorial: Less-Work Patchwork Hearts.

If you have played with fusible interfacing like this and have some advice, please share it with the rest of us in the comments. I won’t be posting any more about these blocks until they’re in final-quilt form. (My deadline, of course, is Valentine’s Day!) For progress reports or to post your own pixelated hearts, join me on Instagram. I’m @frombolttobeauty and will be posting to the hashtag #lessworkpatchworkhearts.

Linking up to Sew Cute Tuesday, WIP  Wednesday, Let’s Bee Social, and Scraptastic Tuesday (because almost all of these squares that aren’t Gardenvale are scraps!) ...

Follow on Bloglovin

Tutorial: Less-Work Patchwork Hearts

Read the Introduction: 4 - 2 = 4 : (

Materials

(34) 2½” squares for the heart
(15) 2½” squares or one jelly roll strip for the background
17½” x 17½” square of Pellon’s ultra lightweight fusible interfacing

Pencil, low-tack tape, tweezers


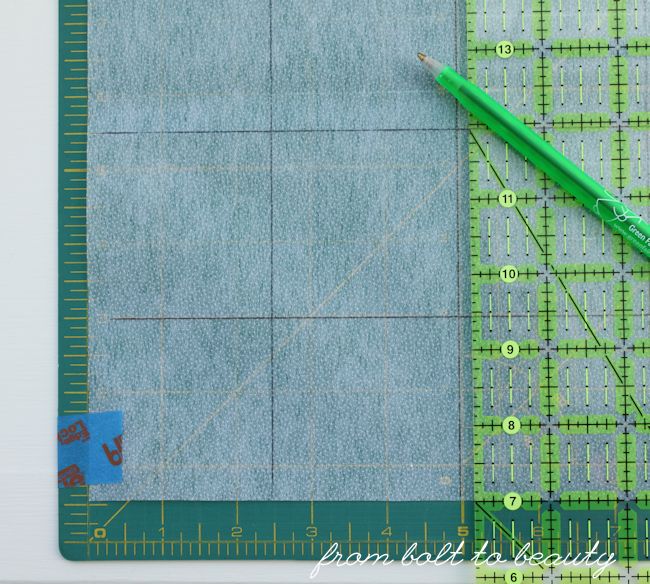
Preparing the Interfacing

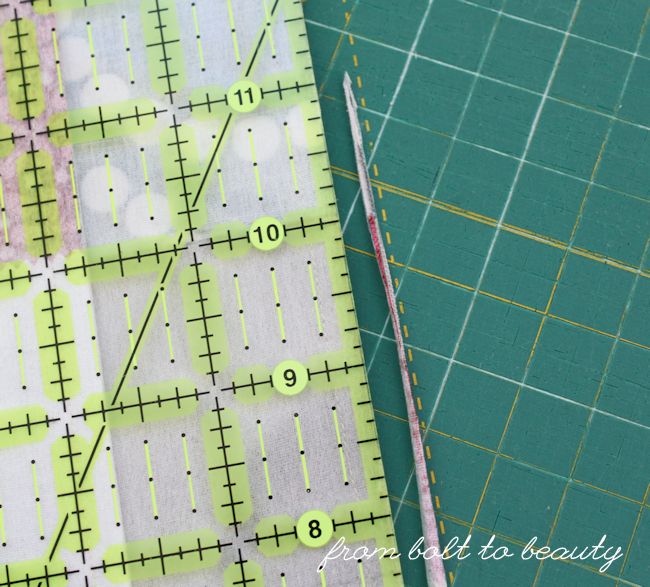
To make marking the 17½” x 17½” square of interfacing easier, tape it to your cutting mat with the adhesive side (i.e., the bumpy side) facing up. Using a pencil, mark lines every 2½”. In the end, you’ll have a grid that is 7 squares horizontally and 7 squares vertically.


Laying out and Ironing

Preheat your iron on the cotton setting.

Position the marked interfacing, adhesive side up, on your ironing board. Lay out the 2½” squares for the heart and background.


If you’re using a jelly roll strip for the background, as I did, you could cut it into (15) 2½” squares, but it’s not necessary with this piecing technique. Instead, cut it into 9 pieces and place them in the background:
  • (5) 2½” squares
  • (2) 2½” x 5” rectangles
  • (2) 2½” x 7½” rectangles
Once you’re pleased with your layout, fuse the fabric to the interfacing by pressing it with your hot iron. Double-check that all the pieces have adhered to the interfacing.


Sewing and Pressing

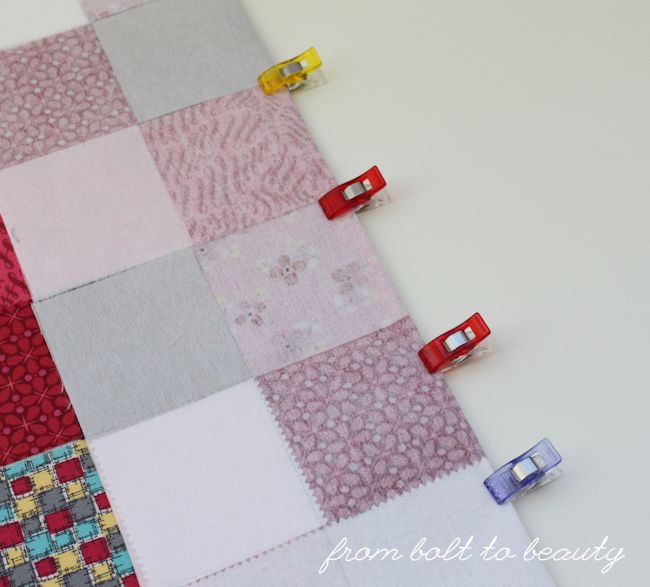
Fold your fused block along a vertical line so that the right sides of the fabric are together. Secure with pins or clips, and sew a generous ¼” seam. Repeat with the remaining vertical seams.


Slice off a tiny amount of each seam allowance, and press each one open.


Repeat the process for the horizontal seams.


Troubleshooting

This technique is fairly foolproof. (Truth be told, I did fuse the interfacing to my ironing board instead of the fabric, but that only happened once. Ha!) If you find loose threads behind any light-colored squares, gently loosen the fabric from the interfacing and use tweezers to remove the culprit. The earlier in the process you discover those threads, the easier it is to remove them.


For progress reports about my own pixelated hearts or to post your own, join me on Instagram. I’m @frombolttobeauty and will be posting to the hashtag #lessworkpatchworkhearts.

Linking up to Tips and Tutorials Tuesday ...

Follow on Bloglovin

Monday, January 4, 2016

Another Jelly Roll Bites the Dust

Back in November I declared war on my jelly rolls. They had been “aging” in my stash too long. Use them or lose them, I said!

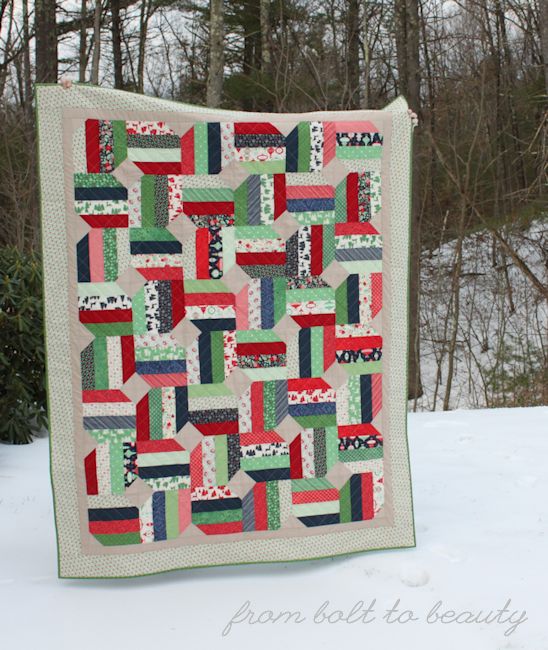
Toward that goal, I finished this Christmas gift, my Christmas in Bold Colors Quilt. It’s the complement to my Ridiculously Easy Jelly Roll Quilt, which featured more muted fabrics.


It’s a different kind of quilt for me, with lots of saturated color and patterns and none of my favorite Kona Snow. (The solid I did use was Kona Parchment.) Most of the fabric is from Basic Grey’s 25th and Pine line, left over from some mini quilts I made. I also got to use a bunch of scraps—some from my standard scrap bin, some from my Christmas scraps. Man, it felt good to use them up.


As always, I tried some new techniques to further hone my standard quilt-making procedure:
  • After spray-basting my quilt sandwich, I ironed it on the front and back, on Chelsea’s recommendation. I’ll do this on future projects. It helped address any wrinkles before they became problems during quilting. I did have an issue with the pieced back shifting at some point in the process, and I didn’t realize it until I had completed the quilting. Perhaps in the future I’ll attach the back with spray, iron it, and then attach and iron the front? Hmm ...
  • I’ve had problems in the past with puckering while quilting, so I started quilting with my walking foot and set the pressure to zero. There was too much play between the walking foot and quilt, though, and my quilting lines were wiggly. Then I set my pressure to 0.5, and everything went much more smoothly. I still had a lot of control over the quality of the stitches, however, so I had to be attentive to maintain a consistent speed.
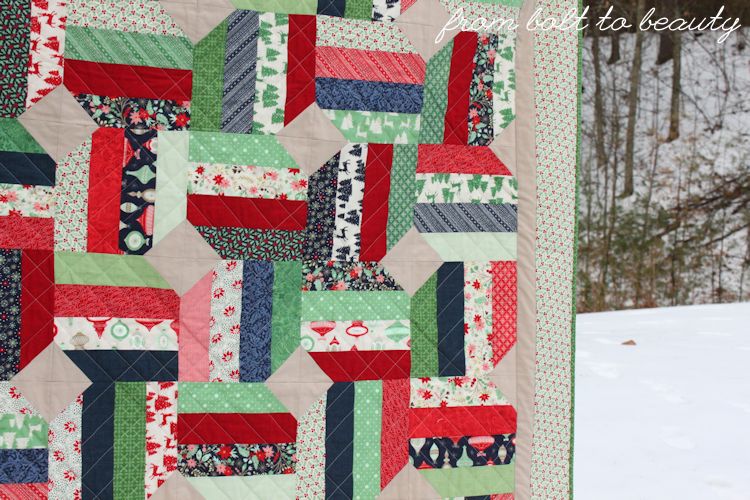
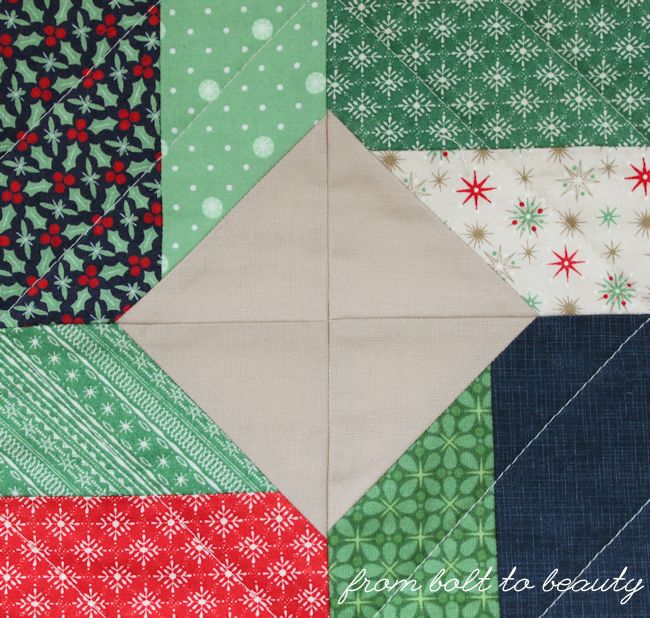
  • I quilted this project with straight lines. I’m not a fan of an all-over grid with lines that intersect at 90-degree angles (I don’t know why—it’s just me!), so I omitted some of the lines, which resulted in a pattern that echoes the diamonds in the piecing. It reminds me of the quilting I did here, yet another Basic Grey project of mine.

This diamond pattern is the result of my not-quite-all-over-grid quilting.

Here the quilting creates echoes around the diamonds in the piecing.

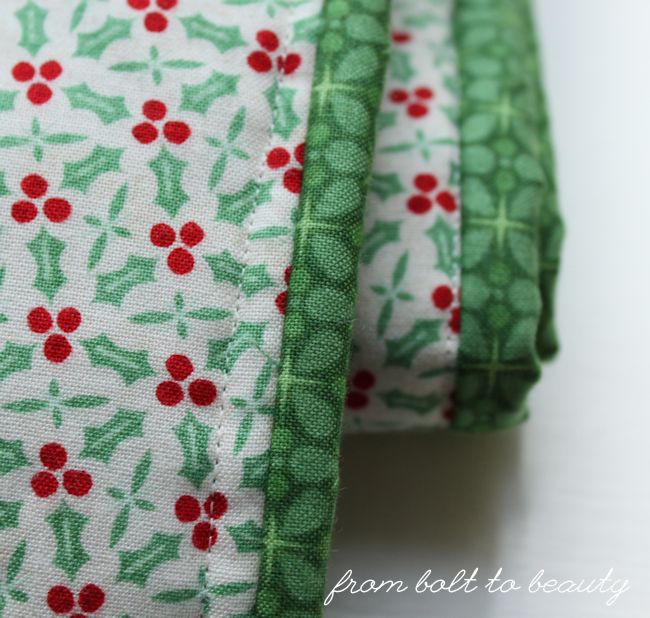
I do my bindings differently for each quilt. For this project I sewed the binding
to the quilt front and finished it from the back. The bobbin thread is visible
from the front but blends in well with the holly border.

I didn’t follow a pattern for this quilt; I figured out my own way to cut the fabric and construct the quilt top. I did, however, take the design from Thimbleblossoms’ Jellybean Quilt. If you’re into this quilt, that’s the best place to go for advice on making your own version. : )

Linking up to Let’s Bee Social, Needle and Thread Thursday, and Finish It Up Friday ...

Follow on Bloglovin