
Read the Introduction: 4 - 2 = 4 : (
Materials
(34) 2½” squares for the heart
(15) 2½” squares or one jelly roll strip for the background
17½” x 17½” square of Pellon’s ultra lightweight fusible interfacing
Pencil, low-tack tape, tweezers
Preparing the Interfacing
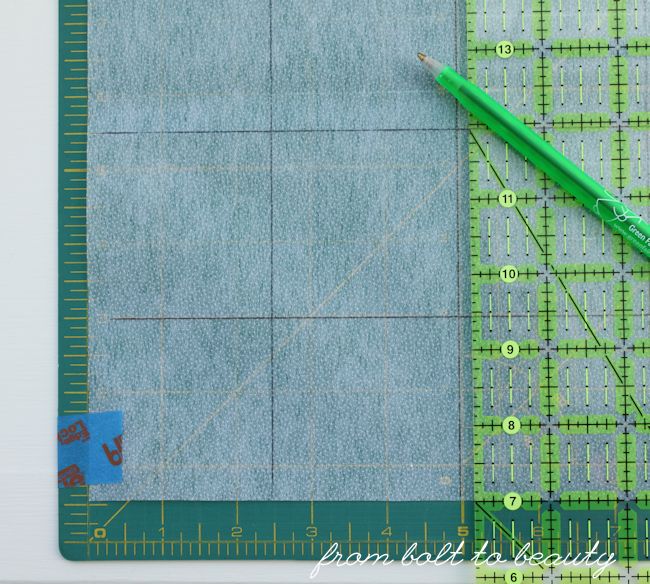
To make marking the 17½” x 17½” square of interfacing easier, tape it to your cutting mat with the adhesive side (i.e., the bumpy side) facing up. Using a pencil, mark lines every 2½”. In the end, you’ll have a grid that is 7 squares horizontally and 7 squares vertically.
Laying out and Ironing
Preheat your iron on the cotton setting.
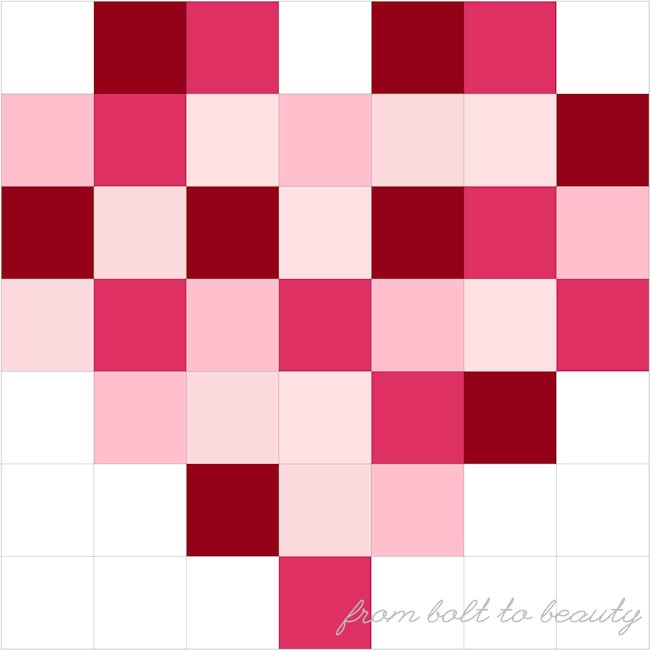
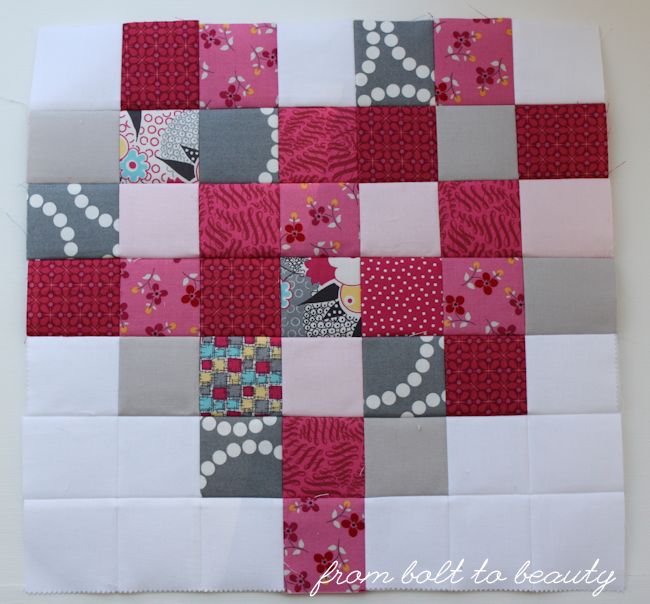
Position the marked interfacing, adhesive side up, on your ironing board. Lay out the 2½” squares for the heart and background.
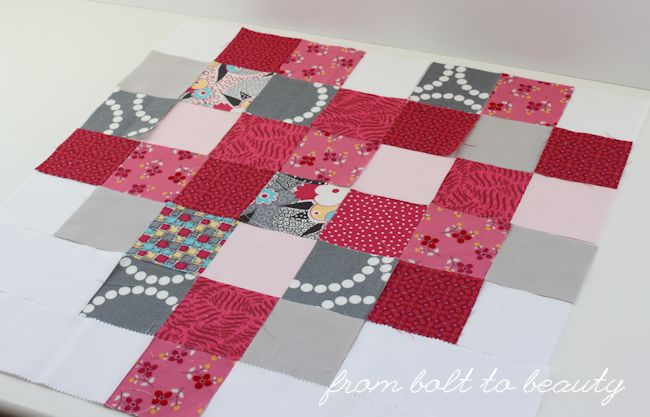
If you’re using a jelly roll strip for the background, as I did, you could cut it into (15) 2½” squares, but it’s not necessary with this piecing technique. Instead, cut it into 9 pieces and place them in the background:
- (5) 2½” squares
- (2) 2½” x 5” rectangles
- (2) 2½” x 7½” rectangles
Sewing and Pressing
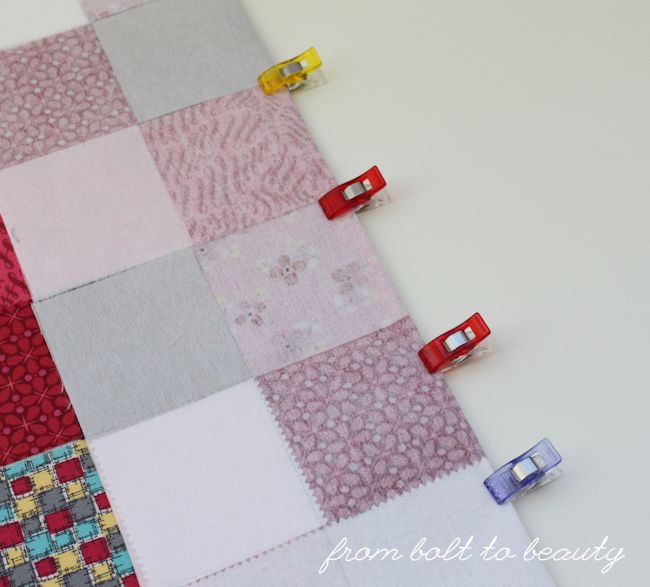
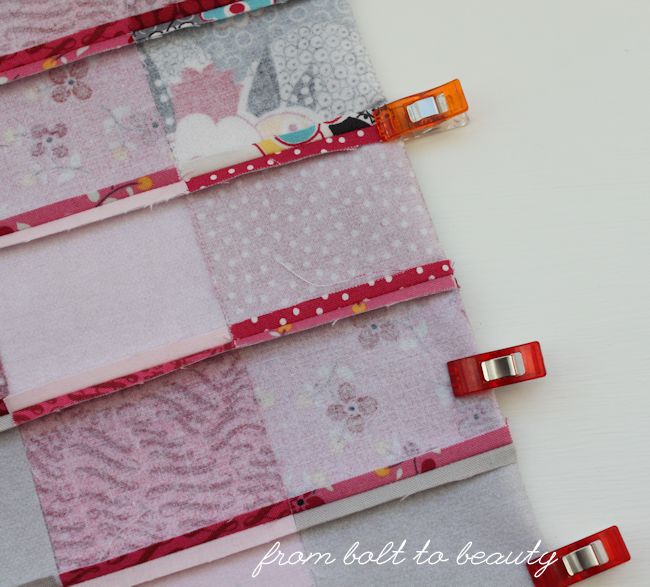
Fold your fused block along a vertical line so that the right sides of the fabric are together. Secure with pins or clips, and sew a generous ¼” seam. Repeat with the remaining vertical seams.
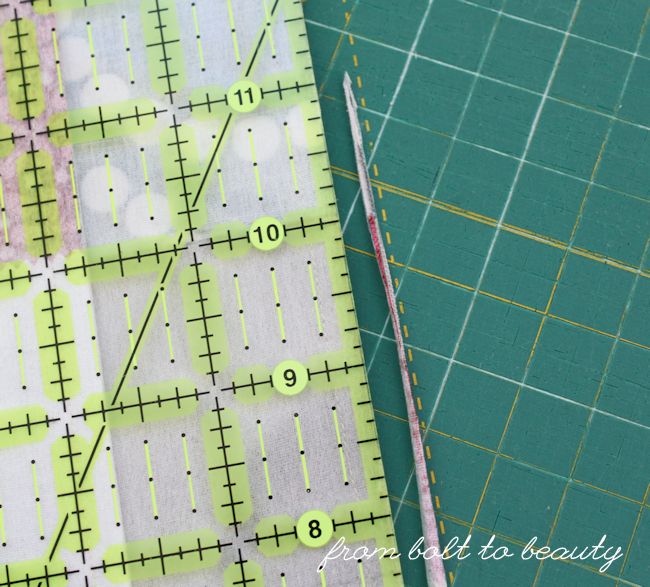
Slice off a tiny amount of each seam allowance, and press each one open.
Repeat the process for the horizontal seams.
Troubleshooting
This technique is fairly foolproof. (Truth be told, I did fuse the interfacing to my ironing board instead of the fabric, but that only happened once. Ha!) If you find loose threads behind any light-colored squares, gently loosen the fabric from the interfacing and use tweezers to remove the culprit. The earlier in the process you discover those threads, the easier it is to remove them.
For progress reports about my own pixelated hearts or to post your own, join me on Instagram. I’m @frombolttobeauty and will be posting to the hashtag #lessworkpatchworkhearts.
Linking up to Tips and Tutorials Tuesday ...

You had me at tweezers! Saved to try this out, thinking a Valentine's day pillow. Quilt would be too ambitious at this point.
ReplyDeleteI've seen this technique before but have never tried it. My accuracy tends to fly out the window the smaller the squares so I can really see how this is helpful.
ReplyDeleteI'm totally into pixel quilts these days....And just this morning I was planning on using this method for a block design I've had in my mind. I was happy to see your tutorial linked up! You'be inspired me to go ahead and take the plunge!
ReplyDelete