 |
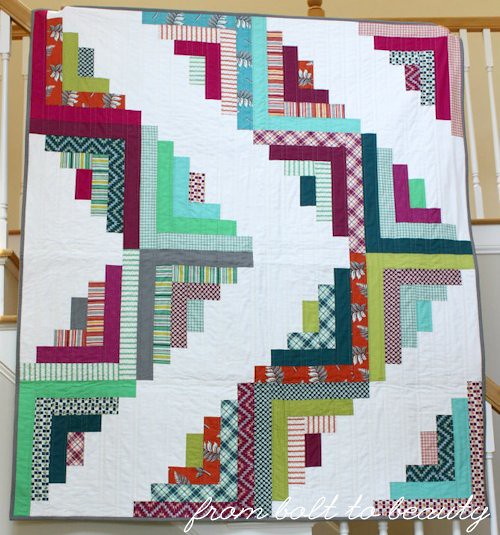
| Bloom Chicka Boom, my first improv quilt. |
There was a time in the not-too-distant past when I thought improv was a magical kind of quilt making. It was beyond my skill set and best left to the masters—Victoria Findlay Wolfe, Sherri Lynn Wood, and other sewists known professionally by three names. At that point in my sewing career, creating without a concrete plan seemed hard and inefficient. How did I know whether I was going to like my finished product? The idea of wasting my time and fabric on a project that I might not love was unappealing.
But I have grown, friends. I’ve learned that improv doesn’t mean sewing without a plan. It doesn’t mean you start piecing fabric, willy-nilly, and end up with a fabulous finished quilt. You might not be following a pattern per se, but you do sew within a framework, the rules by which you select fabrics, cut them up, and sew them back together. I can say all of this with confidence because I just completed my first quilt with lots of improv sewing. : )
The difference for me was the instructions set out in
Stash Statement, a new book by Kelly Young, of
My Quilt Infatuation. Kelly approached me a few months ago about participating in a blog hop for her book, and I agreed to it with some hesitation. I am happy to report, however, that
Stash Statement has helped me conquer my fear of improv, and it has the potential do the same for you, too!
Still skeptical? Let me address your likely concerns ...
It Seems Hard
Creating your first improv quilt can seem daunting, but having a framework makes the task manageable. And that is exactly what
Stash Statement provides. Following Kelly’s advice, you learn how to sew improv panels, blocks, or strips and incorporate them into patterns. In other words,
Stash Statement marries what’s scary and new (improv) with what you already know and love (bold, modern patterns).
 |
| Bulldogs, curlicues, flowers, ducks ... this background has it all! |
Sometimes the improv panels you make will appear in the foreground of the quilt top. In the quilt I made, Kelly’s
Bloom Chicka Boom pattern, the improv is in the background. For me, this was extra fun because I got to use up a chunk of fabric in cool shades of gray, blue, and periwinkle, not my typical palette. (See my first post about this project
here.)
 |
| The variety in the background prints creates great texture. |
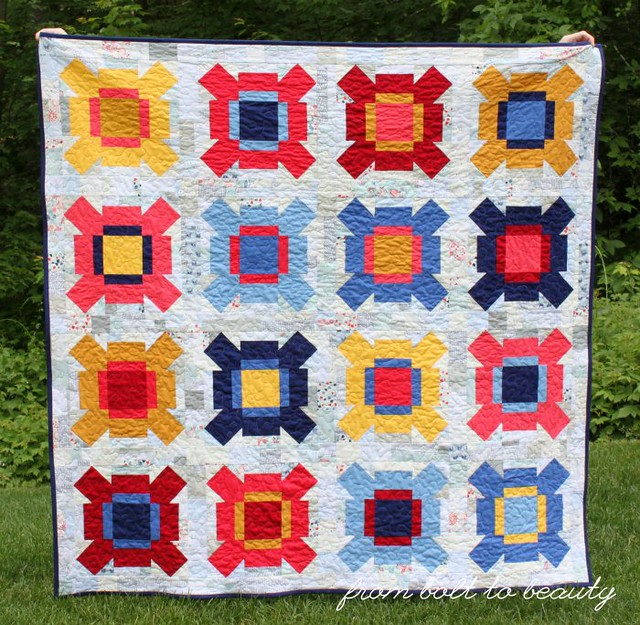
I Don’t Have a Big Scrap Bin
When I first received Kelly’s book, I had just given away the majority of my scraps. Lucky for me, Kelly addresses using yardage in improv piecing. You’d never know that almost all of my low-volume fabric choices came from yardage in my stash. There’s such a great spectrum of fabrics, including many novelties that were aging in my fabric drawers for years. It felt good to get those beauties out of my stash and into a project.
 |
| I spy Lizzy House’s constellation prints from her Whisper Palette. |
It Seems Time Consuming
Some of the patterns in
Stash Statement are more time intensive than others. Bloom Chicka Boom, with all that improv in the background, is probably one of the more time-consuming ones. I started well in advance of today’s deadline, sewing my improv panels here and there when I wanted something fun and relaxing to sew. If you’re looking for a faster project, choose a different design, maybe one that features the improv in the foreground. Check out
Beach Retreat, for instance. I think that would go together a lot faster. (In fact, I think I’ll be making a rainbow-y version in the future!)
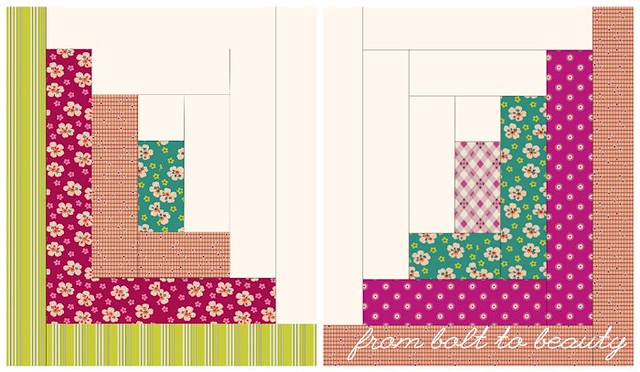
Something to keep in mind is that you don’t have to be super legalistic about this process. After all, it is supposed to be a fun opportunity to use what you have on hand. Bloom Chicka Boom calls for sewing improv panels and then cutting them down into smaller sizes for use in the blocks. When I found a stack of low-volume 2.5" squares in my stash, I could have sewn them into panels and then cut them back into 2.5" squares, but I used them as is and they look great in the quilt.
The Bloom Chicka Boom block also calls for 1.5" by 4.5" strips. Since I was cutting from yardage anyway, I simply cut 1.5" strips of varying lengths, sewed the short ends together, and then cut them into the needed 4.5" lengths. You would never know by looking at my finished quilt that I took a shortcut.
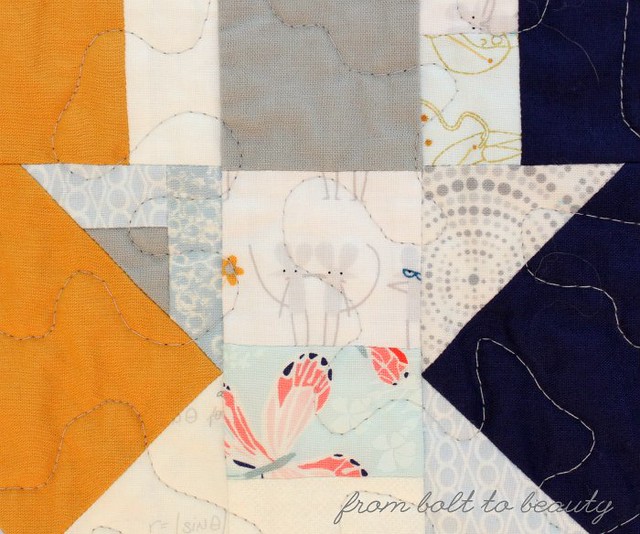 |
| I love these chummy little mice! |
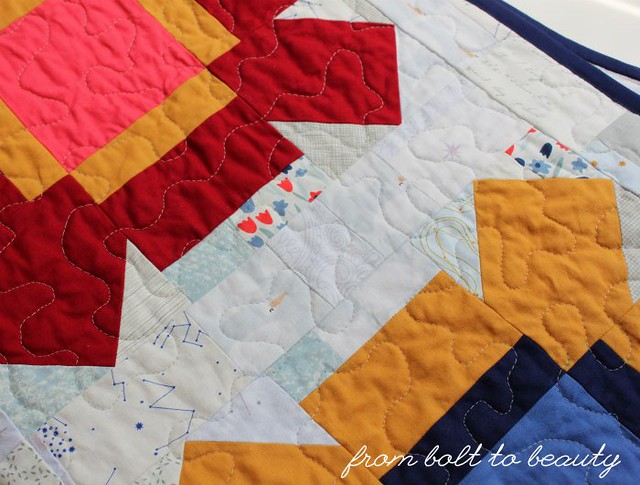
There Are So Many Seams
Your finished improv quilt top may have some spots where the seams are bulky. I didn’t want to quilt not-so-straight lines through any bulky areas, so I chose to free-motion quilt my project. Granted, I didn’t know how to free-motion quilt at the time I made this decision, but I thought it would be more forgiving. In the end I figured out how to FMQ, and it worked well for me with this project.
The one issue I did not foresee is how the bulk would affect my binding.
I machine-finish my bindings, and I wish I had given myself more wiggle room than I usually do to compensate for that extra bulk at spots along the edge of the quilt.
If you have sewn something improvisationally, how did it go? If you’re new to improv, are there other concerns that are preventing you from making the leap?
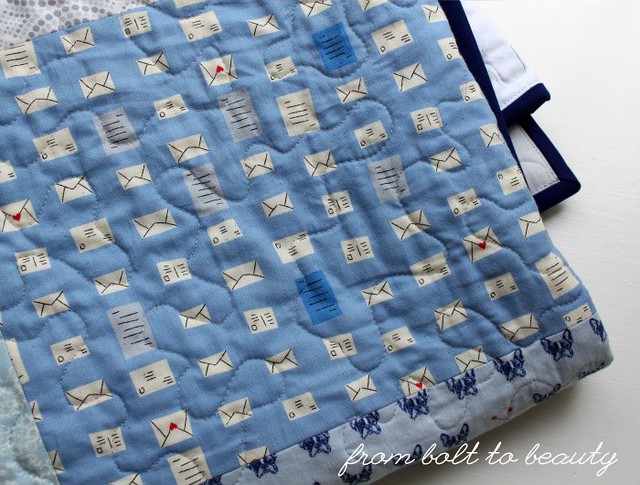 |
| The back features prints in the same palette as my improv background. |
Now that I’ve covered improv, I need to tell you all about my adventures with FMQ! Stay tuned for a future post on that subject.
Linking up to
Let’s Bee Social and
Needle and Thread Thursday ...