Recently, Cheryl teamed up with Paige Alexander, of Quilted Blooms, to write Modern Plus Sign Quilts: 16 Dynamic Projects, a Variety of Techniques. I knew before I opened it up that this book would offer unique designs and well-written patterns. It did not disappoint!
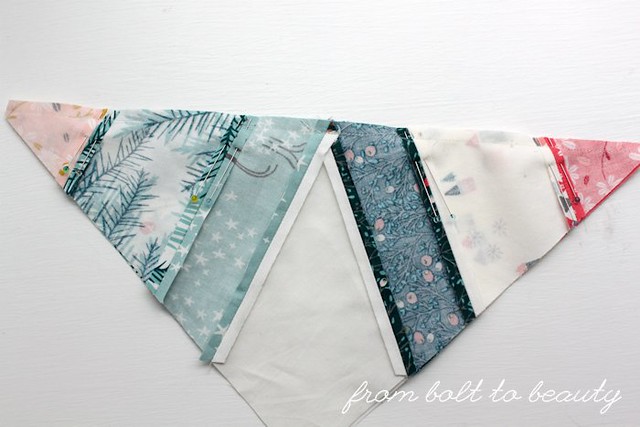
For the Modern Plus Sign Book Blog Hop, I decided to make the Rick Rack Runner, a project sized generously enough that it could serve as a bed runner. I opted to trim it down so I could gift it to a friend as a table runner this summer ...

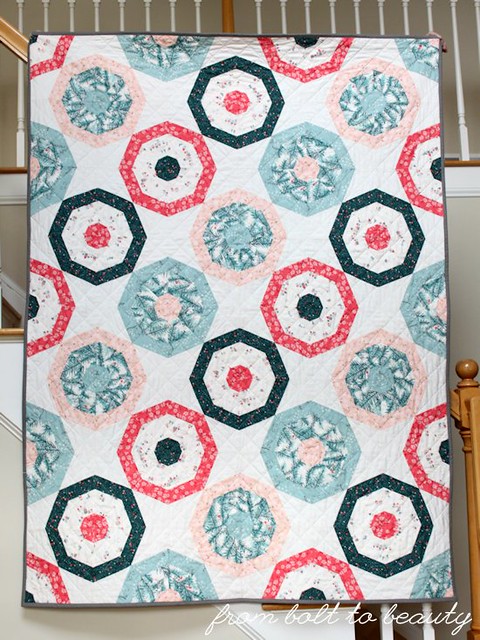
I stayed true to the original—designed, pieced, and quilted by Paige—choosing a light background color (my beloved Kona Snow) that would highlight some carefully chosen fabrics for the pluses. Then I dove into my Bonnie and Camille stash to assemble a modern version of the traditional red, white, and blue Fourth of July palette. I’m delighted with how it turned out!
 |
| This is Paige’s original, from the book. Photo courtesy of C&T Publishing. |
I took the back as an opportunity to use more from my Bonnie and Camille collection, making a simple patchwork of 5-inch charm squares. It may seem like unnecessary extra work for the back of a project, but I tend to gravitate toward B&C’s more saturated prints. This back was a great way to give those lower-volume charms a life outside of my stash. (For more on that back, including how I cut corners on the pressing, click here.)
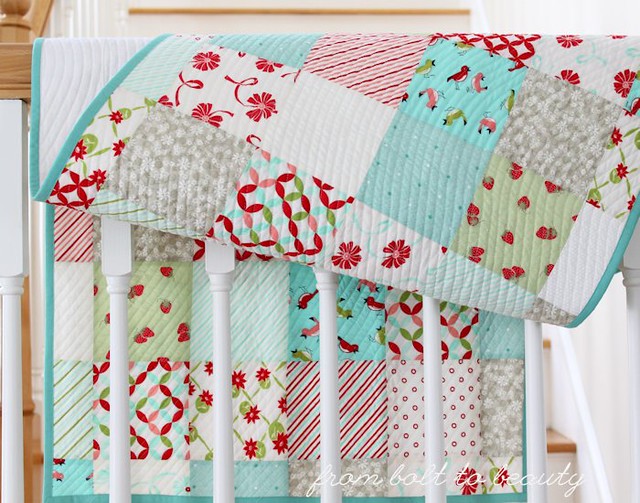
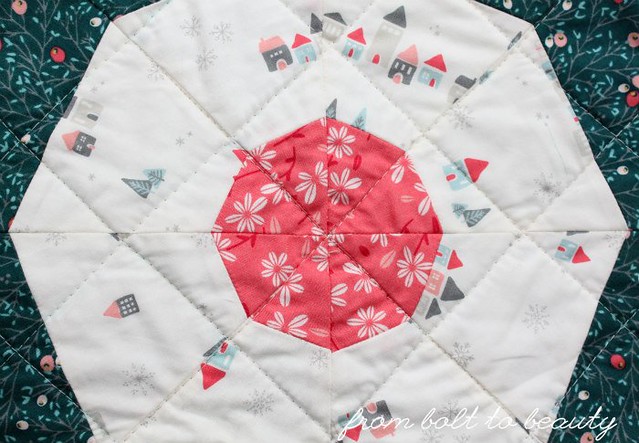
All those angles in the pieced quilt top needed some softening, so following the instructions in Jacquie Gering’s Walk book, I quilted a large, soft S-shape diagonally on the runner and then echo-quilted out from there. It was a fun break from my usual straight-line quilting and was surprisingly forgiving.
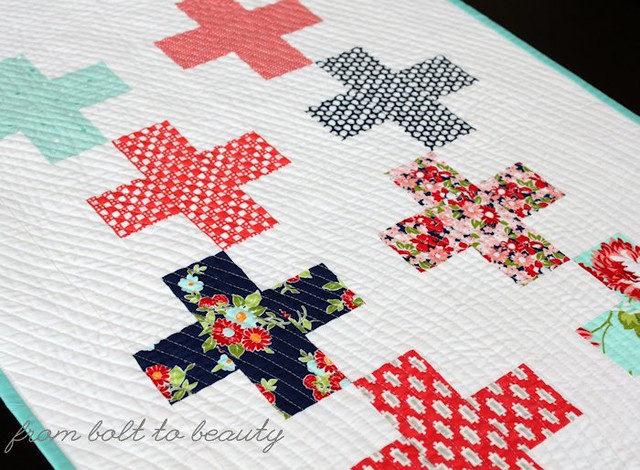
I experienced the usual pitfalls with this project—trimming threads I was supposed to bury, unpicking and resewing a binding that should have been easier to finish, scrubbing off schmutz that I managed to get on the quilt top. (Ack!) It all worked out in the end, though, and I’m excited to give this summery runner to my friend in a few months.
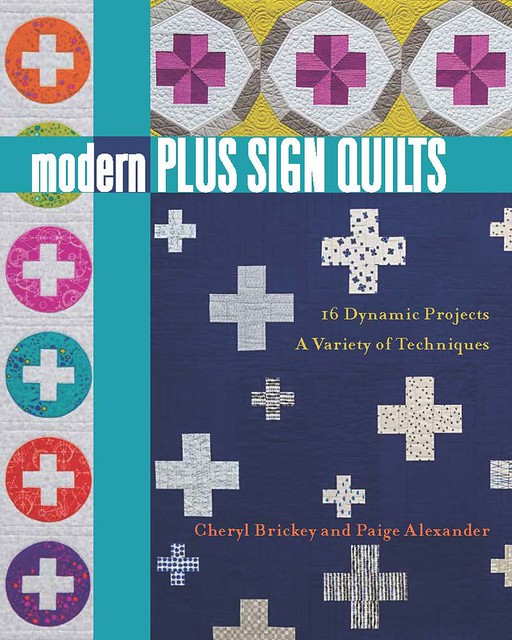
The blog hop for Cheryl and Paige’s book continues through March 23rd. Be sure to check out other bloggers’ plus sign finishes and visit the authors’ blogs for daily giveaways! You can purchase your own copy of Modern Plus Sign Quilts here, and both Cheryl and Paige are selling signed copies in their Etsy shops.
Enjoy the rest of the hop!
Modern Plus Sign Book Blog Hop
Monday, March 12th
Cheryl @ Meadow Mist Designs
Paige @ Quilted Blooms
Tuesday, March 13th
Soma @ Whims and Fancies
Ann @ Brown Paws Quilting
Kitty @ Night Quilter
Sophie @ Luna Lovequilts
Afton @ Quilting Mod
Shelley @ The Carpenter’s Daughter Who Quilts
Wednesday, March 14th
Jayne @ Twiggy and Opal
Jen @ A Dream and a Stitch
Abigail @ Cut & Alter
Yvonne @ Quilting Jetgirl
Sandra @ mmm! quilts
Karen @ Run Sew Fun
Thursday, March 15th
Linda @ Flourishing Palms
Bernie @ Needle and Foot
Liz @ Savor Every Stitch
Stacey @ Stacey In Stitches
Michelle @ From Bolt to Beauty [That’s me!]
Patty @ Elm Street Quilts
Melanie @ A Bit of Scrap Stuff Blog
Friday, March 16th
Myra @ Busy Hands Quilts
Izzy @ Dizzy Quilts
Ruth @ Charly and Ben’s Crafty Corner
Christa @ Christa Quilts
Monday, March 19th
Jessica @ Quilty Habit
Cindy @ Hyacinth Quilt Designs
Jennifer @ The Inquiring Quilter
Julie @ The Crafty Quilter
Tuesday, March 20th
Tish @ Tish N Wonderland
Judy @ Sew Some Sunshine
Emily @ The Darling Dogwood
Wanda @ Wanda’s Life Sampler
Karen @ Tu-Na Quilts, Travels, and Eats
Katherine @ Sew Me Something Good
Wednesday, March 21st
Anja @ Anja Quilts
Kate @ Smiles from Kate
Sue @ Sevenoaks Street Quilts
Carole @ From My Carolina Home
Alison @ Little Bunny Quilts
Thursday, March 22nd
Debbie @ Esch House Quilts
Laura @ Slice of Pi Quilts
Beth @ Cooking Up Quilts
Janice @ Color Creating and Quilting
Joanne @ Quilts by Joanne
Friday, March 23rd
Cheryl @ Meadow Mist Designs
Paige @ Quilted Blooms
Linking up to Finish It Up Friday, Needle and Thread Thursday, and Let’s Bee Social ...