Read about quilting this project here.
I’m amazed with how my quilt projects evolve. I rarely follow patterns, and when I do, it’s loosely—I always add my own tweaks. It’s even unusual for me to cut fabric for a project up front and then start piecing. I’ll cut some fabric and make some blocks, cut some more fabric and make some more blocks. I see projects as an organic process, as a series of decisions that lead me to the final product I can’t envision until it’s almost complete.
This phenomenon reminds me of those Choose Your Own Adventure Books that were popular when I was a kid. The difference with quilting—ack!—is rethinking a decision isn’t as simple as turning back a few pages. As a quilter, taking another path often entails ripping out stitches, if not editing blocks out of a layout or scrapping a project entirely!
I decided earlier this year to make a quilt for Chelsea, of
Patch the Giraffe. She’s my quilty partner in crime. We’ve served as co-VPs for the past year in
our guild, and our shenanigans include gambling for fabric, holding fabric hostage, and talking smack about each other’s productivity. I knew she didn’t have a quilt that featured her favorite jungle inhabitant and thought I’d remedy that.
I didn’t have a full vision for this quilt; I just jumped right in. This is what I created ...
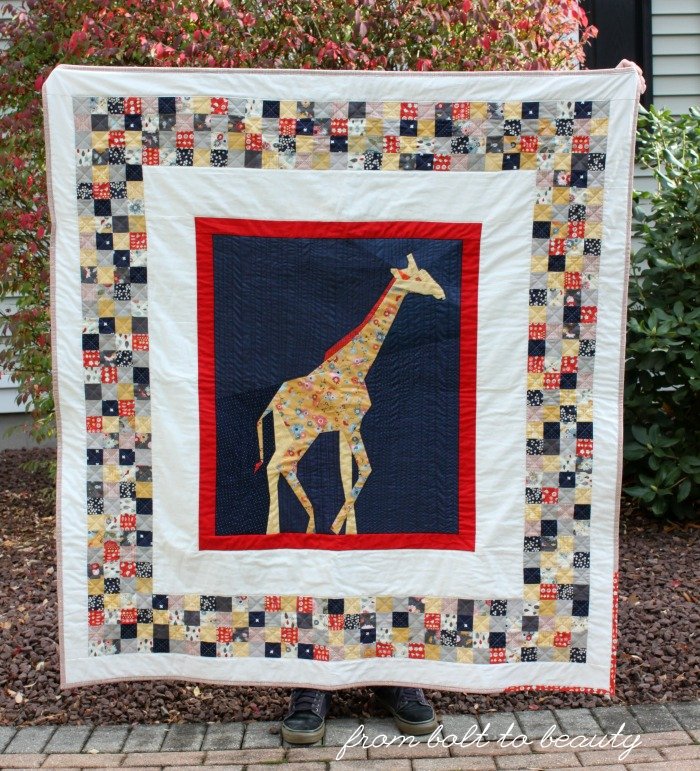 |
| Chelsea’s Giraffe Quilt |
And this is how I got there, Choose Your Own Adventure style ...
You find multiple giraffe patterns. Which do you choose?
When I think of animal quilts, three quilt designers come to mind: Sew Fresh Quilts, Violet Craft, and Tartan Kiwi. All of them have giraffe patterns. Sew Fresh Quilts, in fact, has two giraffe patterns—
Giraffe Love and
Giraffe Family—but I wanted something that was less “new baby” and more “thirty-something with an inexplicable predilection for giraffes.”
Violet Craft’s giraffe, part of her Jungle Abstractions collection, is gorgeous. I had to rule that one out, too, though. I couldn’t imagine creating it in anything but solids, like the original, and I didn’t think I could infuse the project with enough of my personality, or Chelsea’s.
The Tartan Kiwi’s paper-pieced giraffe was another story. I could envision that pattern in a variety of colorways, and the pieced background had the potential for a scrappy approach that Chels would like. My decision was made.
It’s time to start piecing the quilt. Do you go with the slam-dunk palette or take a risk?
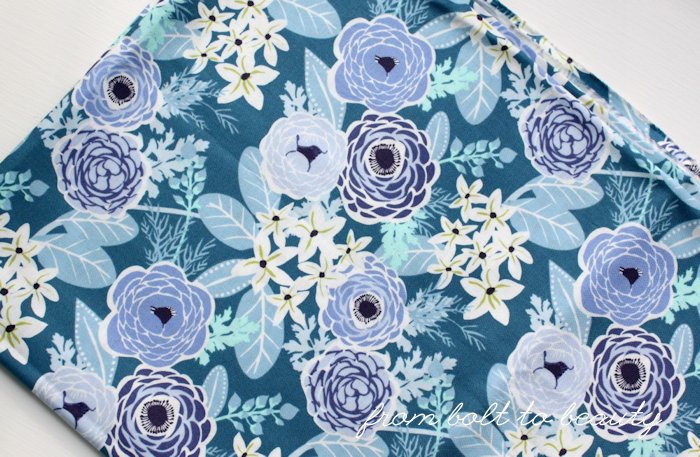
I know Chelsea’s preferred quilt style, colors, and fabrics pretty well. I decided to use a Zen Chic dot for the giraffe and incorporate teals and aquas—some of her go-to colors—to frame the animal. It was a slam dunk.
 |
| Some of the original fabric pull |
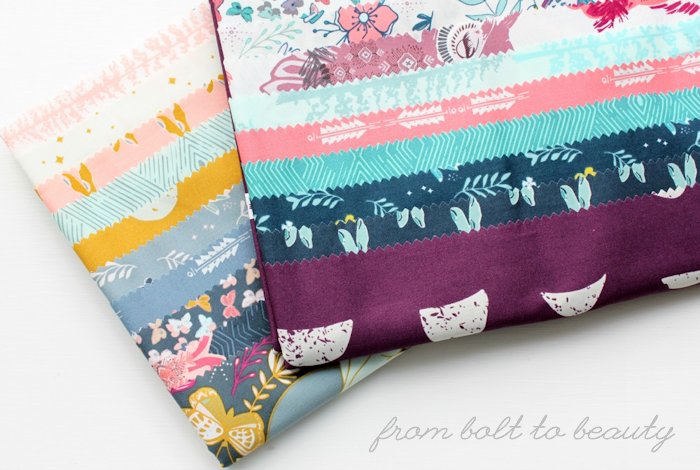
Then, as I was about to prepare the fabrics for paper piecing, I came across a yellow floral from Basic Grey’s Mon Ami line in my stash. The Zen Chic dot was nice and it would serve its purpose mimicking the spots of a giraffe hide. The Basic Grey option, however, had personality. It was a focal fabric that could affect the direction of the rest of the quilt.
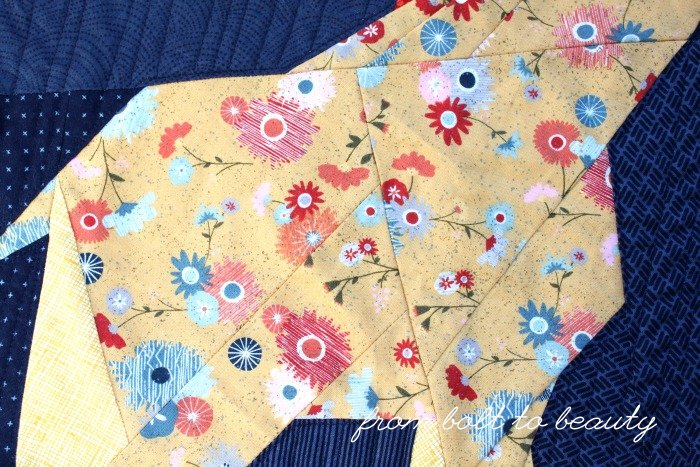 |
| A focal floral from Basic Grey’s Mon Ami line |
At the 11th hour, I ditched the sure-fire dots, along with the aquas and teals, and took a chance on the yellow floral.
The quilt is too small. How do you enlarge it?
Once the giraffe was pieced, I loved it. I used different navies from my stash for the background and was pleased with the contrast they created against the giraffe’s yellow hide. But at this point, the quilt was just 24 inches by 27 inches. Because I prefer to gift throw quilts instead of wall hangings, I needed to make it bigger.
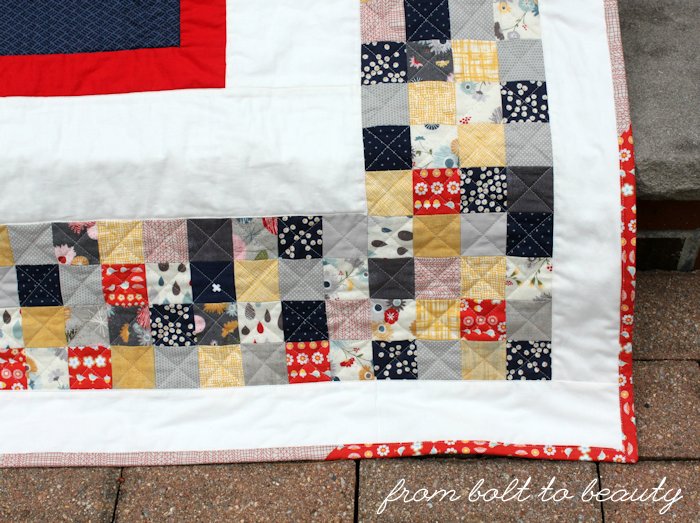
I decided to add borders that would complement the giraffe without overwhelming it. At the time, I had 2-inch blocks from
this quilt on my mind and soon started sewing 2-inch blocks together for this project, too.
 |
| A look at the border of 2-inch squares |
I needed 456 squares for this endeavor—a number I didn’t calculate until I had pieced half of it, and by then there was no going back!
The giraffe needs something to frame it. What fabric do you use?
So the quilt was really coming together by now. I planned on laying out the different elements like this (from the center out): the giraffe, a Kona Snow border, the 2-inch blocks border, and another Kona Snow border. As I played with these parts on my “design floor,” however, the transition from the giraffe to Kona Snow seemed lackluster. That lovely animal needed something to set it off.
The natural choice to make the giraffe and its dark background pop was red (even though Chelsea hates red!). I would have loved to use something more orange-red, but the border of 2-inch blocks used a true red-red. I bought four different potential fabrics to use around the giraffe and ultimately settled on Kona Tomato ...
 |
| The giraffe framed in Kona Tomato |
Afterword
Phew! I’m glad this project is wrapped up and that we both made it to the end of this long blog post. I have more to say about this quilt—I want to talk about the quilting—but I’ll save that for another day. (Update: I have since posted about the quilting
here.)
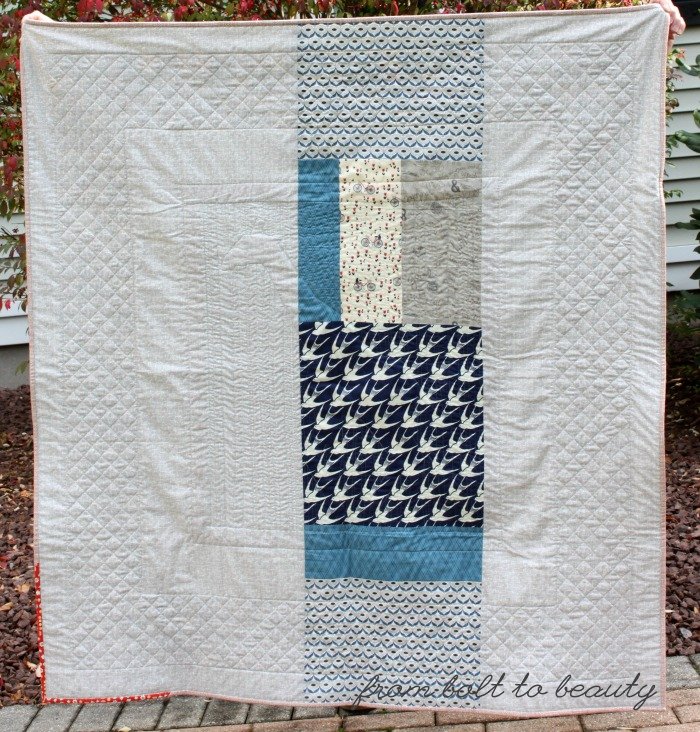 |
| The quilt back |
In the meantime, do you have a comparable experience to share with us? Have you plunged headfirst into a project and ended up in a place—and with a quilt—you couldn’t have imagined in the beginning? Tell us about it in the comments!
Read about quilting this project here.
Linking up to
Finish It Up Friday and
Let’s Bee Social ...