

There are times I find peace in the routine of sewing. Cutting a project out, chain-piecing blocks, and pressing seams can be relaxing and meditative. Other times, I just need to get something done. In those latter cases, I try to cut corners without sacrificing quality.
 |
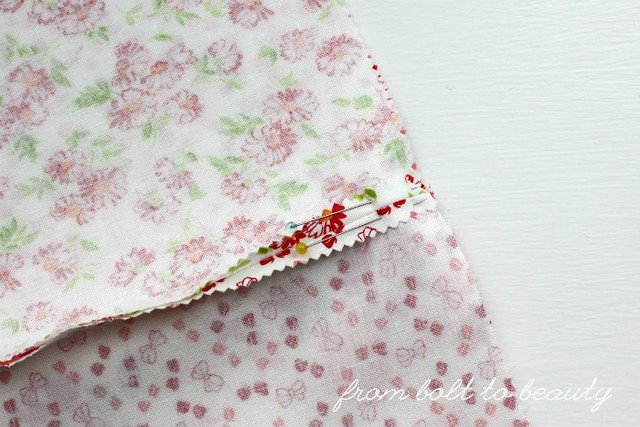
| This simple patchwork was the perfect candidate for a piecing short-cut. |
One way to save time is by finger-pressing. When I finger-press a seam, I run my finger along it to open it up and then sew the piece to something else before heading to my ironing board. Not every project is a candidate for this short-cut, but I recently pieced squares to make a back for a table runner. It was a simple project, with manageable 5-inch blocks, so I thought I’d save some time by following these steps ...
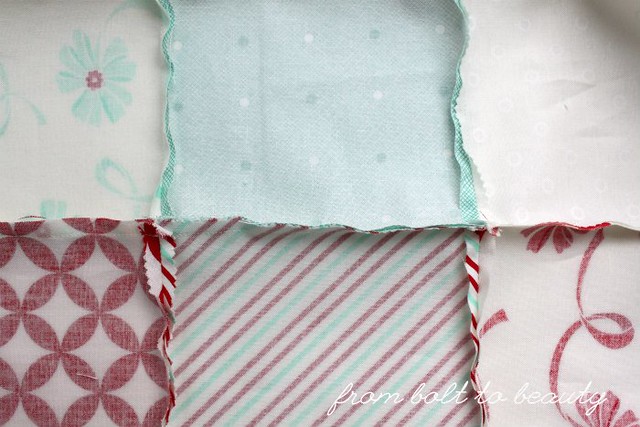
Chain-piece the rows. I started by chain-piecing the rows. For me with this particular project, that meant chain-piecing the blocks for one row at a time. I’d sew the 14 blocks into 7 sets of 2 blocks and so on until the row was complete. Once one row was done, I’d start on the next.
Finger-press the seams to join. Then I took two rows that needed to be sewn together and finger-pressed the last inch of the seams to join. I actually used my finger nail to open the seam up—it works better for me.
Pin and sew. I pinned all of the joins twice—on both sides of each seam—and then sewed the two rows together.
 |
| Two pins keep everything lined up for me. |
 |
| These are the seams before I take them to the ironing board. |
Press with the iron. Once all of the rows were sewn together, I took the patchwork to my ironing board. First I ironed all the vertical seams, the ones I had partially finger-pressed. Then I pressed the horizontal seams. After everything was pressed on the back of the piece, I pressed it from the front.
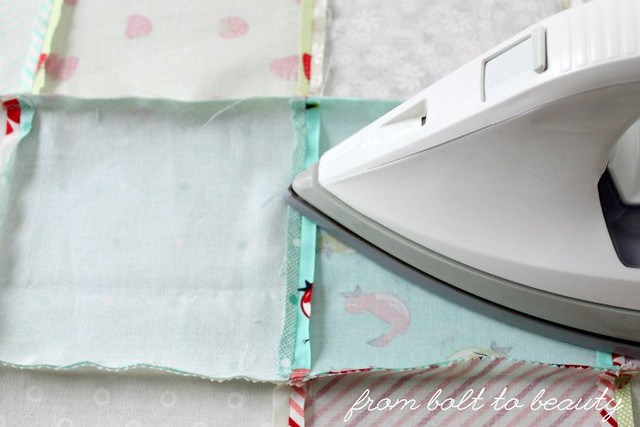 |
| I start pressing the vertical seams. |
Spray for good measure. Finally, I turned the patchwork over to the wrong side again, gave it a light spray of Best Press, let that soak into the fabric, and pressed one last time from the wrong side.
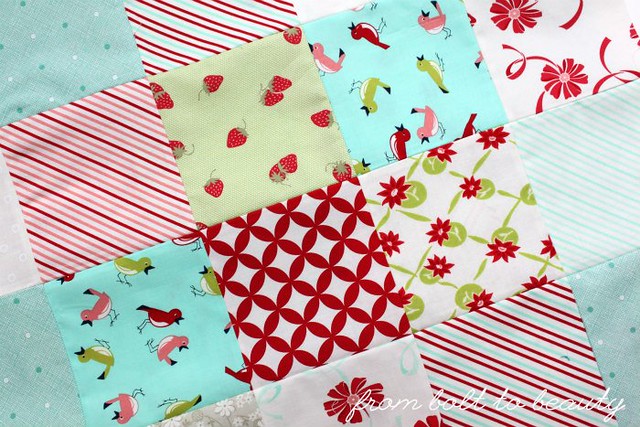 |
| Ta da! The finished, perfectly pressed patchwork! |
* * *
Some of you may be thinking that the time saver here would have been pressing my seams to the side with an iron. By alternating the direction of seams between rows, I could have nested my seams and skipped pinning. I could have, and so could you, if that’s what works best for you and gives you the results you want. I greatly prefer sewing my seams open; I like quilting over seams that lie as flat as possible.Admittedly, I don’t rely on this technique all that much; I tend to use it for smaller seams. I specifically remember saving some time with my pin cushion production line by finger-pressing. : )
Do you have any other suggestions for shaving time off of pressing? (You can admit to not pressing unless absolutely necessary!)
More From Bolt to Beauty techniques ...
- How I Machine-Piece Hexagons
- How I Achieve Perfect Points Without Pins
- How I Bind My Quilts
- How I Piece My Backs

I have a really heavy duty seam roller my husband made for me that I like to use to press seams by the side of my sewing machine. I have a bad habit of 'scraping' the seams with my fingernail which leads to finger pain quickly, so having a seam roller has resolved that for me.
ReplyDeleteThank you for linking up with the Tips and Tutorials Festival!
Deletewhen I am making small blocks with lots of small pieces I find that finger pressing keeps me from distorting the block with my iron, especially when working with bias edges. I recently completed a pattern and it called to press open all the HSt's. I did so, then found that my bloc-loc ruler did not work to trim. I also have had issues with pressing open seams and the seam unravels at the edge and have actually had holes in a quilt top as a result. I do a lot of chain stitching so do not tac every edge of every block I sew.
ReplyDeleteI tend to press to one side so the ironing helps me keep everything neat and tidy but I'll skip it if I'm in a real tearing hurry!
ReplyDeleteI recently completed a quilt that was all Y-seams and did not need pressing until the end, but I rarely use time-saving shortcuts.
ReplyDeleteI do, however, use two pins for all my seam joins - nested or otherwise. People wonder how the joins always are neat. Just pins!
Great tip, I am a press seams open fan too and occasionally use finger pressing to keep sewing without having to go back and forth to the iron.
ReplyDeleteI finger press sometimes as well. I like seams pressed open as well -- easier to quilt. I always pin the seams to make sure they match nicely.
ReplyDeleteWhat? This is so not like you! Now just do it without pins ... I dare you :)
ReplyDelete