When I started quilting, I knew that a hand-stitched binding was not for me. I didn’t have the patience for finishing a binding by hand—I wanted a faster route to a finished project!
I’ve tried just about everything when it comes to machine-binding my quilts ... Attaching to the front and then the back, attaching to the back and then the front. Sewing a straight stitch, sewing a zigzag stitch. Stitching in the ditch, stitching so there’s visible thread on both sides of the binding. Using pins, using glue, using clips, etc.
I found a process that worked for me years ago, and I’ve stuck with it: I attach the binding to either side, the front or the back, and finish with a straight stitch and a visible line of bobbin thread.
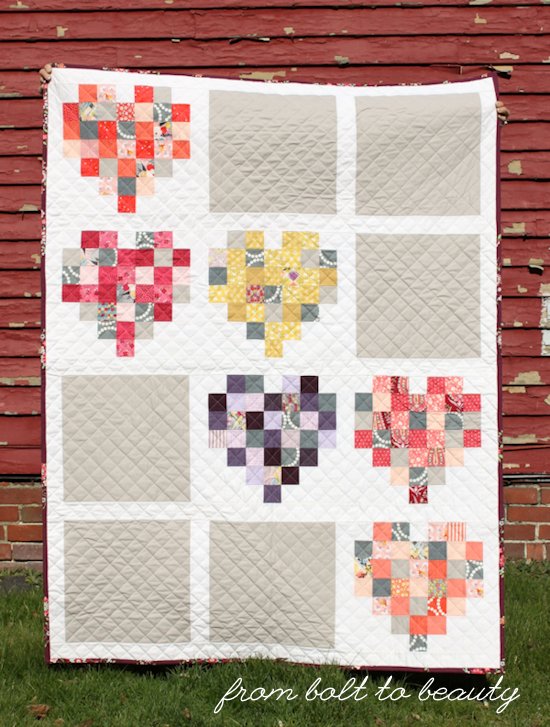
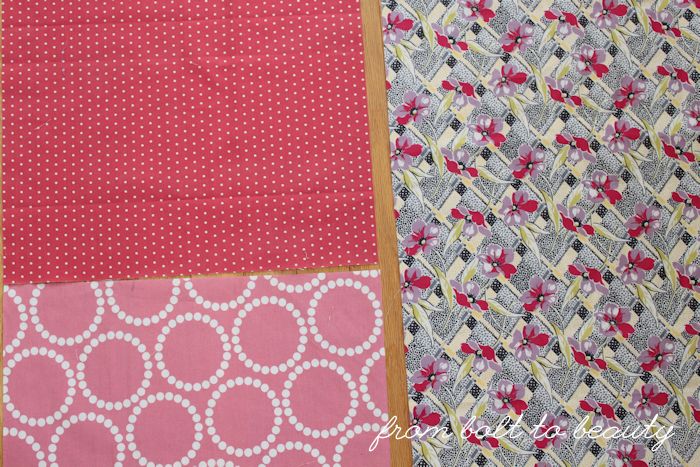
This is what it looks like on the side I initially attach it to ...
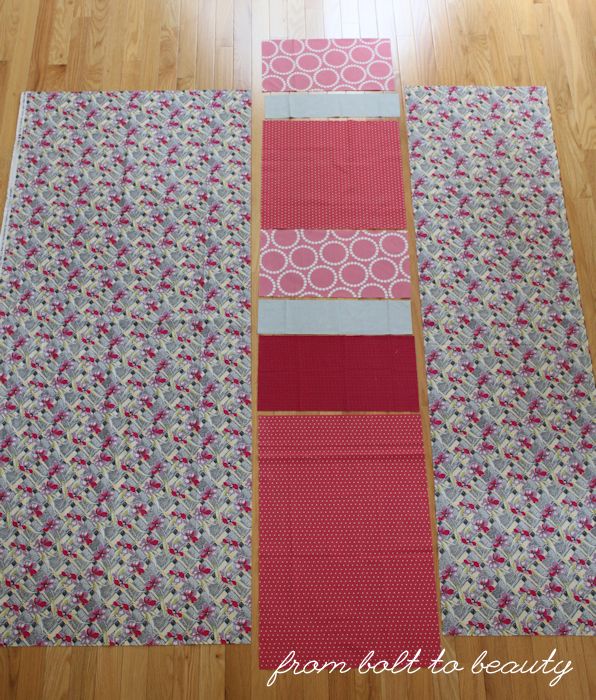
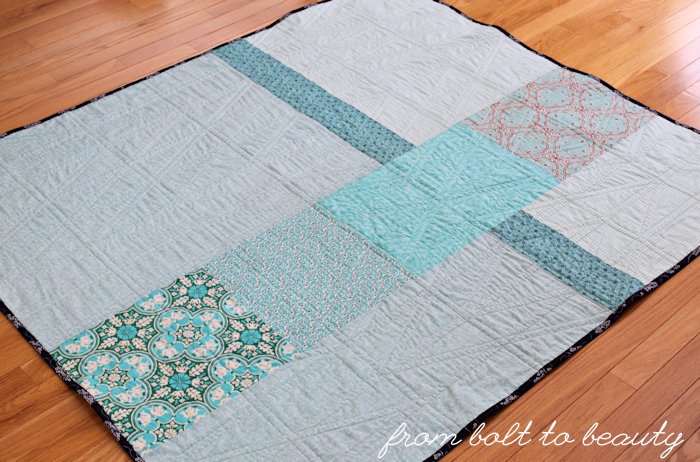
And here’s the reverse ...
It’s not for everyone. I’m sure that thread line parallel to the binding, which appears on the back of this quilt, would drive some of you batty. Plus, this approach often requires different colors for the top thread and bobbin thread. I don’t mind tempting the tension gods (they tend to cooperate with me!), and I like this technique because it’s pretty forgiving.
What follows are more details on how I bind this way. It’s a high-level view of the process. If you want the nitty-gritty details—making your binding, mitering your corners, etc.—there are links at the end of this post to other tutorials.
1. Attach the binding to the front or back.
I use 2.5-inch width-of-fabric binding strips. (I know that bias binding would wear better over time, but I can’t be bothered to make it unless I’m working with a curved edge.) I determine which side to attach my binding to, picking the one that will better camouflage the line of stitching that runs parallel to the binding. (See the first pic above.) Then I sew my binding on that side, mitering the corners as I go.
2. Glue the corners.
The corners are the trickiest part of binding neatly, so to keep everything in place, I glue-baste mine. I start by pressing the binding at each of the corners from the side on which it’s attached. Next, I squeeze a thin line of washable school glue along the exposed corner, fold the binding over it, and use my iron to set the glue for 3 to 5 seconds.
If the product doesn’t look nice, I slowly release the fabric with my finger, reglue it, and try again. After the glue is set, I still use a Wonder Clip on the corner for good measure.
The glue is nontoxic and will come out during the quilt’s first washing.
3. Press the binding.
With the corners ready to go, it’s time to press the binding. I like to set my stitches with my iron first; I think it makes the fabric more malleable and creates a crisper fold. Then I fold the binding away from the side I’m working on, and press again.
I do this for one of the four edges of the quilt and then proceed to the next step.
4. Clip the rest of that edge.
I used to glue-baste all around my binding, but it was messy and I didn’t think the results were worth the hassle. Now I like the precision I achieve by simply clipping the binding down before sewing.
I make sure to give myself wiggle room here. As you can see from the first picture in the post, I have less than an eighth of an inch of clearance, but if I take my time, this is enough and I rarely catch the other side of the binding in the seam accidentally.
5. Sew that edge.
I back-stitch at the beginning and end of that edge, and I pull the quilt off my machine to prepare the next one.
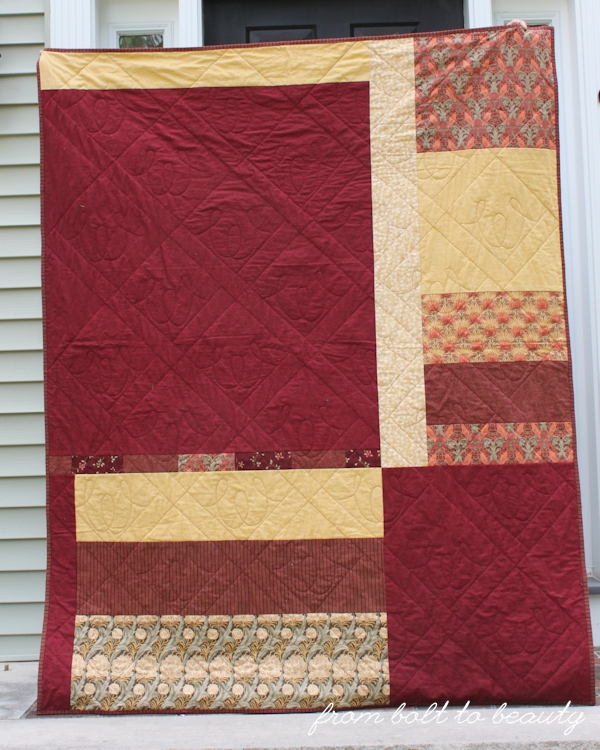
Here is the bound quilt! For more on this quilt, see this post.
Additional resources
When I first started quilting, I thought machine-binding was cheating. What would the quilt police say?! In the years since, I have displayed quilts at shows and received feedback from judges that my pretty and precise machine-binding was an asset. : )
In my mind, choosing how to bind your quilt is a matter of preference.
Everyone does it a little differently, and perhaps by peering into my
process, you might tweak your own protocol.
For more tutorials on binding, see:
* How I Sew Chunky Stitches on Bindings: Truth be told, I’ve fallen in love with the look of chunky stitches on my bindings. Now I am finishing my bindings by hand rather than by machine.
* Karen’s Quilts, Crows, and Cardinals: The technique here of folding the start of the binding and placing a pin through the top layer of the end is how I join my binding ends. This tutorial is long but has lots of helpful pictures. Over time, this approach has become second nature. I’ve only ever followed it to do a flanged binding here.
* Red Pepper Quilts: I used to zigzag the raw edges of my binding as done in this tutorial. Now I can’t be bothered with that extra step.
* Jaybird Quilts: I follow this tutorial when I can get away with a single-fold binding.
* Stitched in Color: I’ve tried using a decorative zigzag stitch to finish off the binding, but I get less-than-stellar results.
[Updated March 3, 2021]


