Olfa Spinning Mat
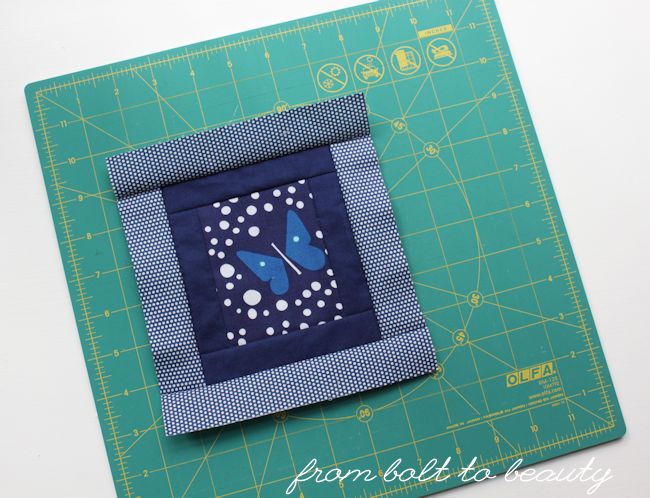
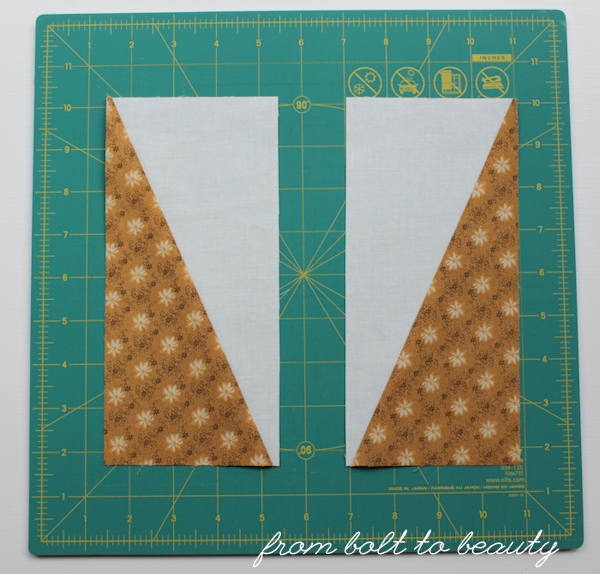
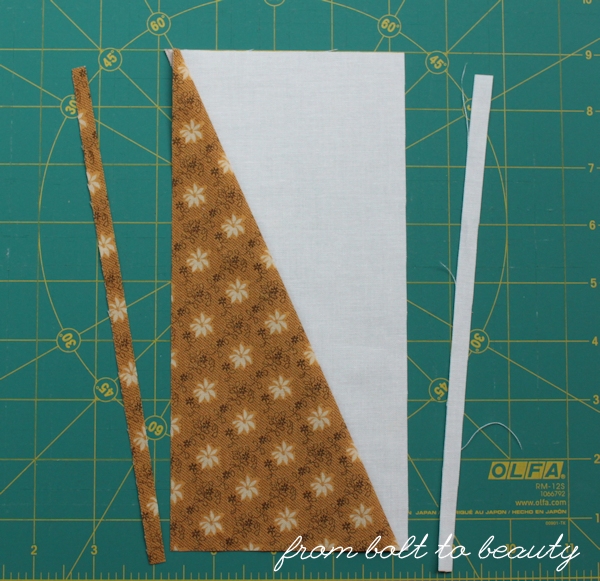
My favorite tool purchased in the past year is my rotating Olfa mat. One night at guild, a friend was extolling the virtues of her spinning mat. I was at Joann’s the next day and saw that all mats were 50 percent off. Clearly, this was fate. I needed one.
I really like mine. It’s
compact—just 12” square—and works well for the fabric I cut on it, which
is small blocks that require precise cutting. Plus, my sewing table is often cluttered
with other stuff. It’s nice to rotate a block without moving my
full-size cutting mat, moving to the other side of the table, or tidying up.
Chalk and Glues
Sometimes what I have on hand does the trick just fine.
That’s what I’ve found with regular old school glue and chalk. I use liquid
washable Elmer’s glue for binding. After sewing the binding to the front or
back of my quilt (it differs for me based on the project), I use Elmer’s glue to
adhere the binding to the other side, avoiding the need for pins or clips,
before finishing the binding by machine. Plenty of other people have talked
about this process (see, for example,
Angela Pingel of Cut to Pieces), so I won’t repeat it here. Glue-basting your
binding—and fully attaching your binding by machine, for that matter—is worth
trying if you haven’t experimented with it before. (P.S. I’m using the glue stick for basting an English paper-piecing project. I’ll save my judgment until after I have to remove the paper!)
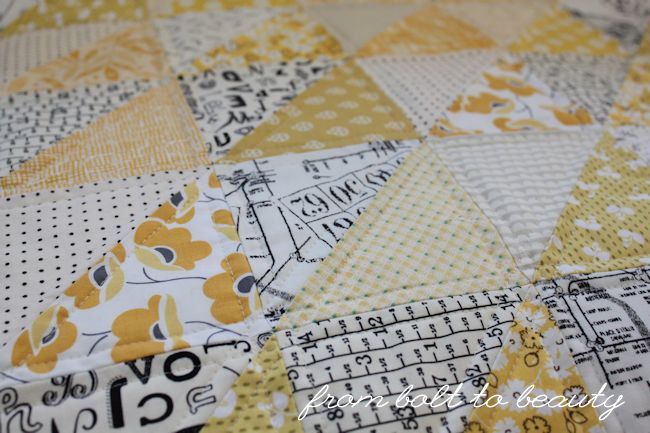
I’ve found school chalk to be useful when marking my quilts
for free-motion quilting. (I write this
as if, you know, I’m always working on a little FMQ. I’m not. I used it
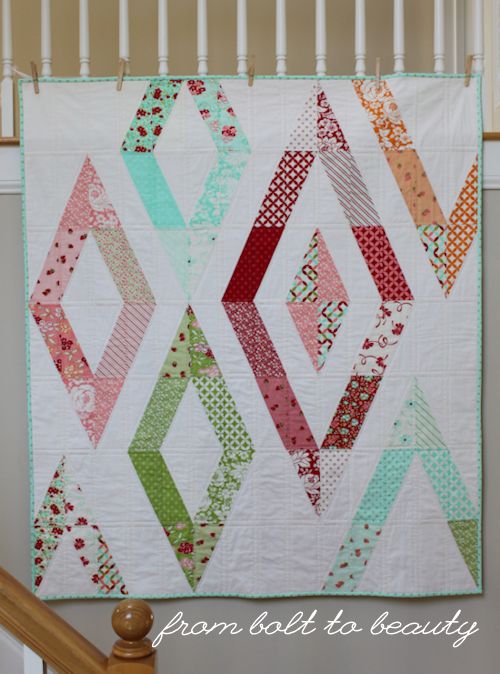
here, where I needed some rough guides for my swirls.) When a project
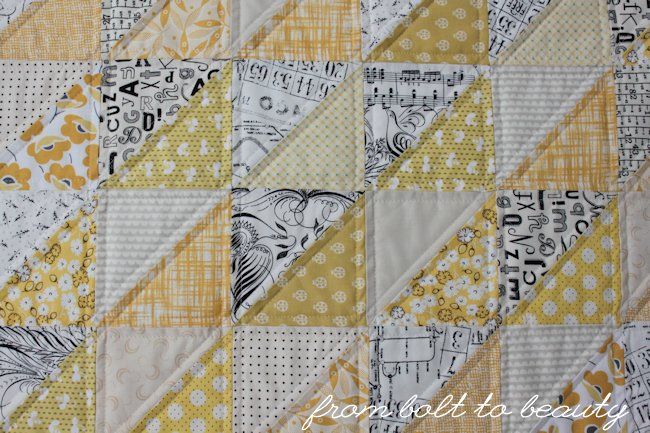
requires more precision or when I’m straight-line quilting, I use the
white Chaco Liner from Clover. Its thin
point of application ensures that I know exactly where to quilt.
(Heads up: I do have a
horror story about the yellow Chaco Liner, though. Beware!)
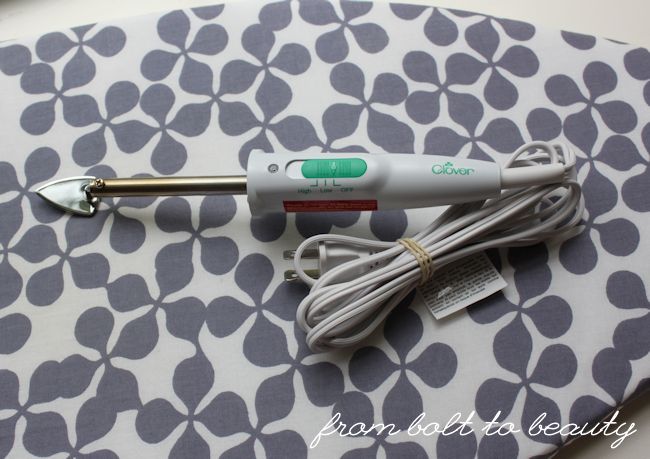
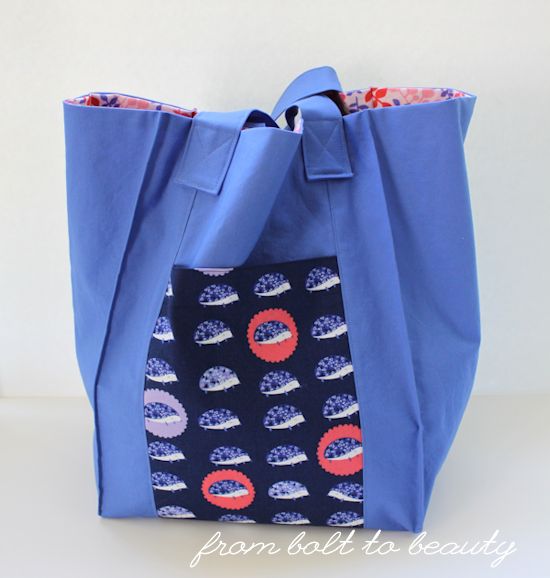
In a moment of weakness, I bought Clover’s Mini Iron to finish up this
Social Tote. The jury is still out on this gadget. I haven’t used it since that project, but I also have not been making as many bags as I usually do. I
can’t say yet that it was worth the investment.
I can tell you that it’s light, and it gets crazy hot
(although it takes several minutes to heat up). I can see how it’s useful in
bag making, but if you have one and use it for quilt projects, please share!
Steady Betty
Here’s another gizmo I’m not sold on yet: the Steady Betty. I have the 15”-by-24” version and didn’t
bother taking a picture because mine is already marked and ugly. See the Steady Betty site for pics.
The surface of the Steady Betty is heat-proof foam, which means
that my fabric doesn’t slide around as it would on my regular ironing board and
that I can pin fabric to the pressing surface. Since my full-size ironing-board
cover disintegrated in the washer (for real), my Steady Betty has become my only
ironing surface. I’m fine with using it to press small bits of fabric or pinning some bias tape to it
for pressing, but when faced with an entire quilt top to press, the foam
surface makes for cumbersome ironing.
Are you a gadget buyer? If you have thoughts on any of these products—or have other interesting ones in your sewing arsenal—please share in the comments.
Linking up to Sunday Stash, Let’s Bee Social, and Needle and Thread Thursday ...
Linking up to Sunday Stash, Let’s Bee Social, and Needle and Thread Thursday ...

