Friday, January 20, 2017

Maker of Small Things

My quilting hiatus continues! Instead of chipping away at the half-dozen quilt projects I have planned, I’m focusing on smaller, faster-to-finish projects. Earlier this month it was pin cushions. This week, it’s Christmas ornaments.

For the first batch, I started with a mini-charm pack of Basic Grey’s Juniper Berry, sewed up some four patches, and trimmed them down to 3½-inch squares. I decapitated some deer in the process (some squirrels did survive the trimming), but the results are still pretty sweet.
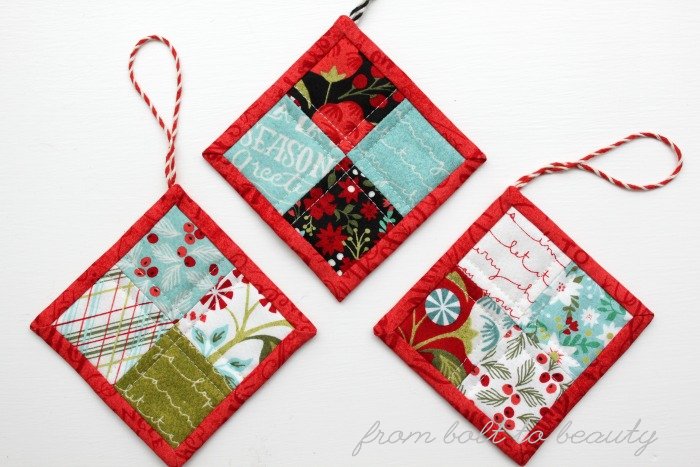
No decapitated deer (or surviving squirrels) pictured here.

Next up: the bonus half-square triangles from this 2015 project. (If you haven’t read the corresponding cautionary tale about bleeding fabrics and how I fixed them in that finished quilt, I recommend reading the story.)


These blocks started out as 2-inch HSTs. Once I sewed them up in four patches, they finished at 3½-inch squares, just like batch 1.
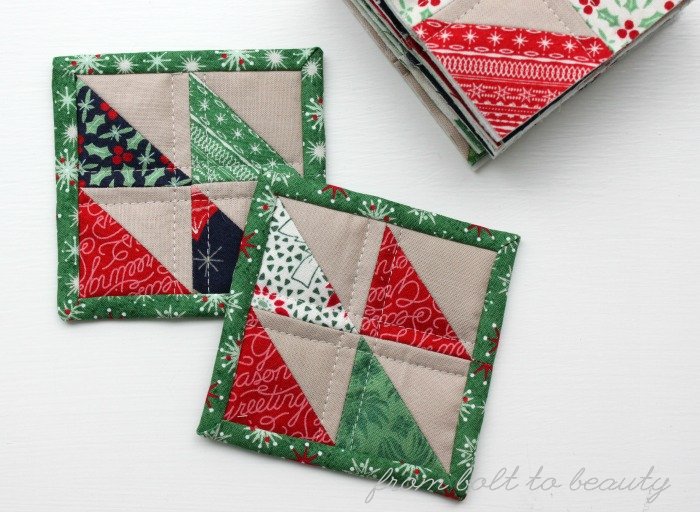
Notice the stack of ornaments waiting to be bound!

The funny thing about this process has been the binding. I was adamant about finishing the binding by machine, as I do for my regular quilt projects. After three ugly attempts, I gave up and opted to tack down the binding by hand. Not only does that technique look better at this scale, but I’m also enjoying the process. Go figure. I don’t foresee changing my approach to binding full-size quilts; I like the durability and look of a machine-attached binding on the throws I make. However, it’s nice to curl up on the couch at the end of the day and work on a project I can hold in my hands.

As with my pin cushions, I made a small project big by planning to sew up a bunch. So far I have finished five and have two dozen more to go!

I am not wedded to the baker’s twine I’ve used to hang the three Juniper Berry ornaments; it’s so twisty that I couldn’t get the ornaments facing the same way for a picture. With another 20-plus to make, though, I figure I have plenty of opportunities to test-drive other options. Maybe gross-grain ribbon next? If you have any suggestions, I would love to hear them in the comments. : )

This ornament decided to cooperate for a quick picture.

Linking up to Finish It Up Friday, the Precut Linky Party, Oh Scrap!, Let’s Bee Social, and Needle and Thread Thursday ...

Follow on Bloglovin

Tuesday, January 10, 2017

My Pin Cushion Production Line

After churning out quilt after quilt last year, I’m taking a break by planning and cutting quilt projects but not sewing a thing. Instead, I’m a small-project girl for the time being, ready to enjoy some quick finishes.

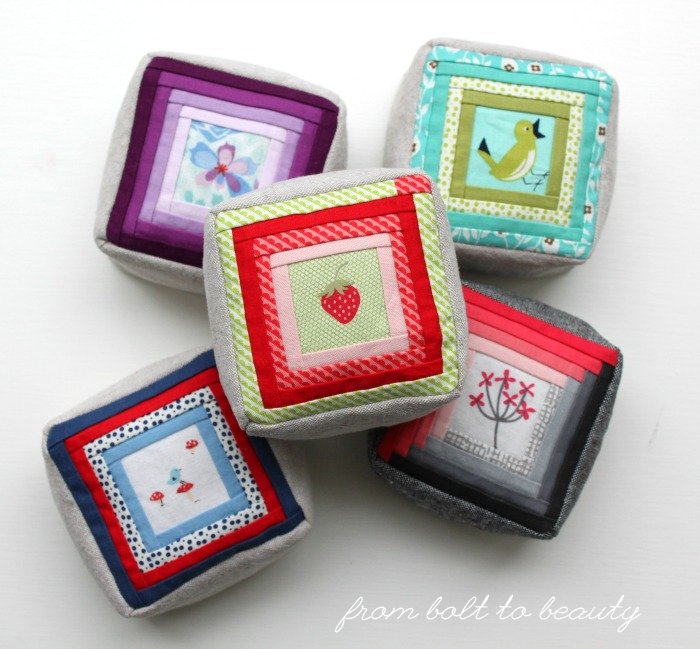
The problem with me and small projects is that I’m great at making them big projects. How is that possible? Quantity, my friends. Take, for instance, my current pin cushion streak ...


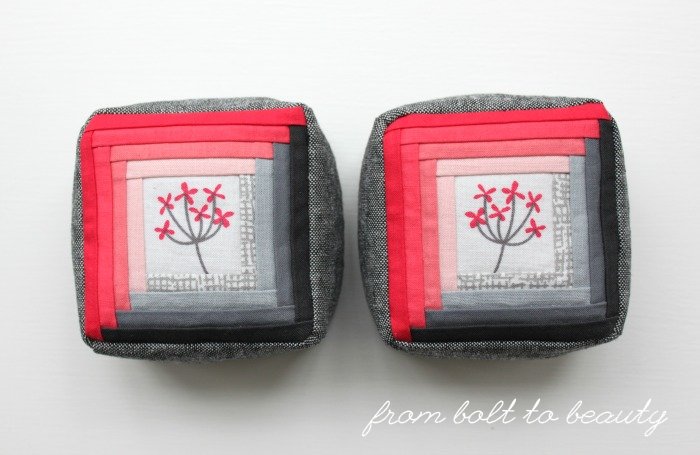
Aren’t they the cutest?! I bookmarked the tutorial, found on Mama Love Quilts, last summer, when it debuted. There’s something about the teeny-tiny log cabin blocks and chunky cube cushion that I find irresistible.

Once I had rooted through my scrap bin, dumping fabric of various sizes and colors all over my dining room floor, it seemed silly to stop at just one. To date, I’ve made eight, with plans for more.

I have a few thoughts if you want to whip up your own collection of cuties ...

1. The hardest part of making these pin cushions is finding a starting point. The center square finishes at 1¼ inch. I have few novelty prints. Of those I do have, many were too big to use in this project.

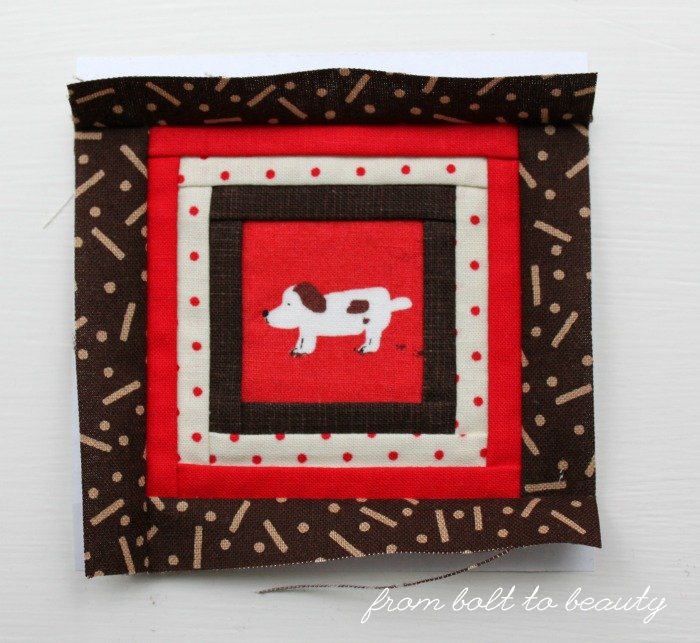
I was happy that I saved this sweet pup, from Aneela Hoey’s Sherbet Pips
collection. He was just the right size!

2. The skinny logs in this work best with solids or super-small patterns. They finish at ¼ inch, and my attempts at using some less dense patterns, even though small, weren’t as successful.

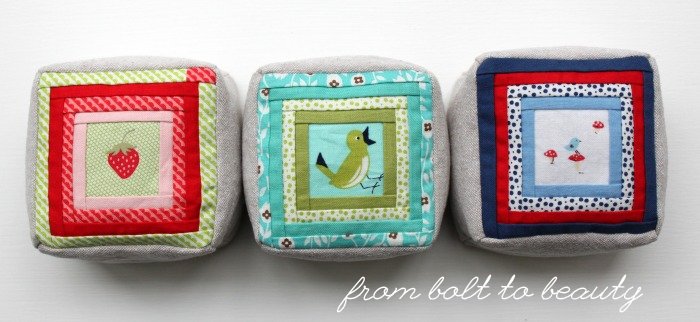
These three pin cushions use some tiny Bonnie and Camille prints,
which were perfect for the scale here.

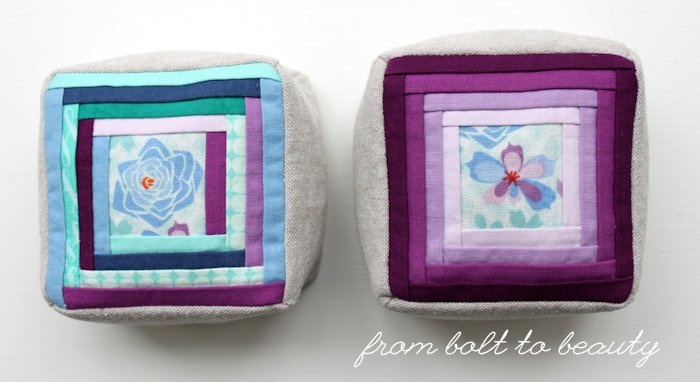
3. I tried some random combinations of fabrics, but I ended up preferring the structure of concentric squares or ombre gradations.

The random version on the left is pretty, but the more orderly one on the right
feels more “me.”


I was so pleased with the gray and pink combination that I made two.

4. Hand-stitching is a turn-off for me, and these pin cushions required a little bit. I consulted a tutorial from Meadow Mist Designs, and the hand-stitching ended up being fast and easy.

That’s my ladder stitch. Looking good!

5. You may have heard others recommend using the crushed walnut bedding they’ve purchased at pet stores as an economical way to fill pin cushions. It does work! I bought a 5½ quart bag—marketed as lizard bedding—for $10. Each cushion required over 1½ cups of filling, so I used about half the bag with the eight pin cushions I’ve made to date. (Read that as: More are sure to follow!)

6. For those of you visiting from Scraptastic Tuesday ... My scrap strategy is to keep (and sort by color) any scraps that are 2½-inch squares or larger. These pin cushions had me rethinking that approach. After all, the centers finish at just 1¼ inch—think of how many pin cushions I could have created with scraps that I’ve tossed! My inner voice of reason prevailed, however: I only need so many pin cushions in my life. Sure, I was able to get most of this fabric from my scrap bin, but my current system is working—no need to complicate things by keeping smaller bits!

To make your own 3½-inch log cabin block and transform it into a pin cushion, see the tutorial at Mama Love Quilts.

Pssst ... Know of any other fun pin cushion tutorials? Let us know about them in the comments!

Linking up to Let’s Bee Social, Needle and Thread Thursday, Finish It Up Friday, and Scraptastic Tuesday ...

Follow on Bloglovin