Monday, August 6, 2018

Save the Thread!

I’ll never tire of sewing half-square triangles. It amazes me what quilters can
create with them! Do you remember this quilt of mine from early 2016? It’s all
squares and HSTs.

Back in February 2017, I attended my first QuiltCon, in Savannah, Georgia. I didn’t spend too much time in the vendor section of the conference—there were too many other things to see and do—but at one point, I found myself admiring the wares in the Aurifil booth. This display was beautiful. A highlight was the quilt Sheri Cifaldi-Morrill made, featuring all 270 of the company’s thread colors. So, so pretty!

At one point during my visit, my friend Megan and I noticed water seeping from the adjacent bathroom toward the booth. With the rallying cry of “Save the thread!” we sprang into action and picked up product, including giant cones of thread, that was displayed on the floor. To thank us, the nice Aurifil folks gave us goodie bags. (This was super sweet but entirely unnecessary. I am a woman of priorities. If the thread is in jeopardy, I’m going to save it.)

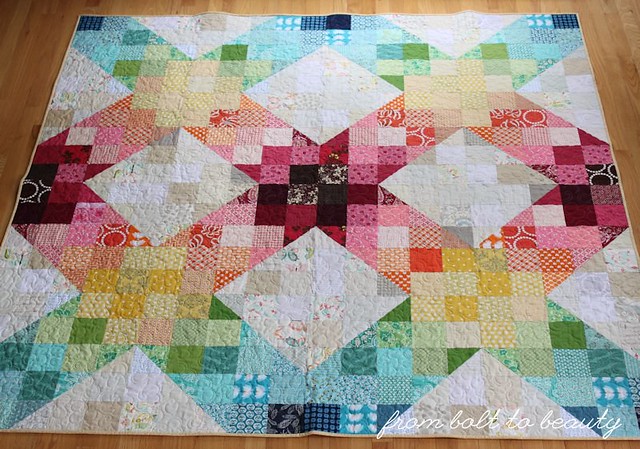
One of the items in the goodie bag was a charm pack of Aubade, by Moda designer Janet Clare. That single act of thread preservation, and the subsequent thank-you, brought about this quilt . . .


For the quilt top, I bought some more Aubade charm packs, paired them with Kona Snow, and remembering a post I saw on Instagram, organized the resulting HSTs in ombre fashion.
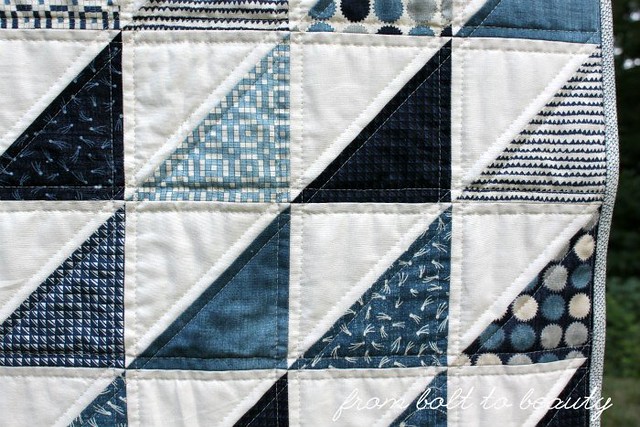

To finish this project off, I quilted on both sides of the seams. (Read that as: no marking!)

The backing is a print from Janet’s Field Guide line, and the ocean-wave binding is from her More Hearty Good Wishes collection.


I’ve long admired Janet’s work and was psyched to play with fabric from three different lines of hers in this project. (A local quilt shop still has Nocturne in stock if I need to address an acute hankering for her fabric designs in the future.)

Do you share my love of HSTs? Is there a pattern full of HSTs that you recommend, or have you designed your own HST quilt?

Linking up to Let’s Bee Social and Needle and Thread Thursday ...

Follow on Bloglovin

Wednesday, July 25, 2018

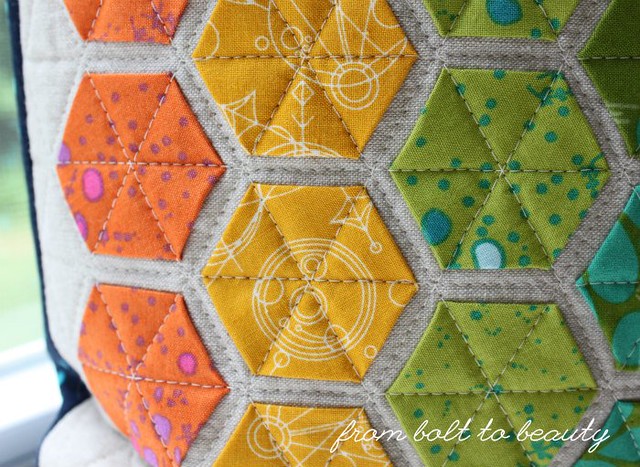
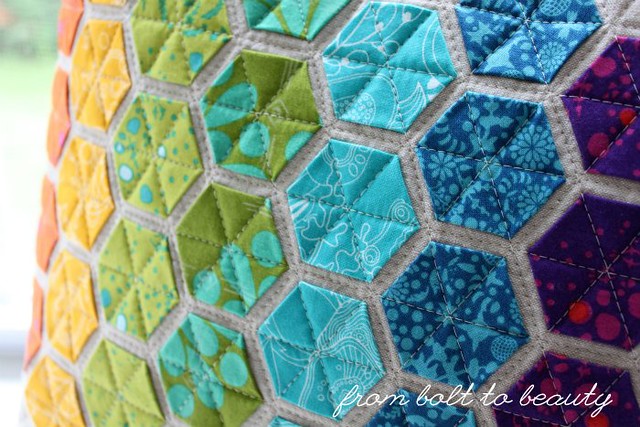
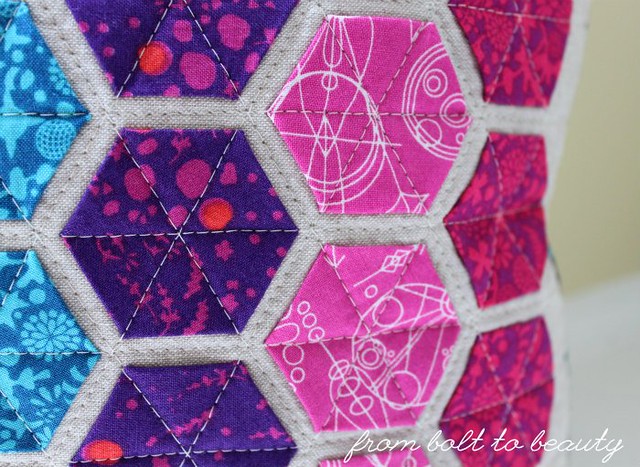
A Modern Hexie Pillow


My projects fall into one of two categories. There are the ones whose inception I labor over. I plot the design, the palette, the fabric pull—sometimes for months. Then there are these other projects that come out of nowhere and I bang out with little thought.

This is the story of one of those latter projects. When I learned that a friend was leaving the area to tackle new adventures, I remembered this project I had seen posted on Instagram and decided to make her a rainbow of modern hexies. A few hours later, I was happily cutting some Alison Glass charm squares into smaller chunks and basting them, English paper-piecing style, into hexagon form.


This technique was developed by Nicole Daksiewicz, of Modern Handcraft. She has made oodles of projects by hand basting and machine appliqueing hexagons to quilts, pillows, and pin cushions. (For real. Check out her hexie projects here.) I probably could have figured out how to make this pillow on my own, but I was happy to pay the $10 to support Nicole’s work.

I’m not sure why it took me so long to tackle a modern hexie project. First of all, basting the 1-inch hexagons proved to be a lot of fun. I have two little boys who are hell-bent on depriving me of any daytime quilting time this summer, and by the time they’re in bed, I’m too tired to do much of anything. But the hexies I baste on the couch, TV on, the husband and 65-pound “lap dog” next to me. Fun!


Plus, the appliqueing was easier than I would have thought. After pressing the basted hexagons and arranging them in a pleasing configuration, I followed Nicole’s instructions and glued them to the background fabric. The subsequent quilting design, which depends on careful placement of the hexies, was somewhat forgiving. Granted, I made an 18-inch pillow, not a quilt, so the threshold for success was rather low. But it’s a triumph nonetheless!


The moral of this story? If you haven’t tried Nicole’s modern hexie technique, you should. I already have a second pillow in the works as well as another Noodlehead Market Bag that I plan on adorning with hexagons.

Linking up to Needle and Thread Thursday and Finish It Up Friday ...

Follow on Bloglovin

Thursday, July 12, 2018

Conquering My Fear of Free-Motion Quilting

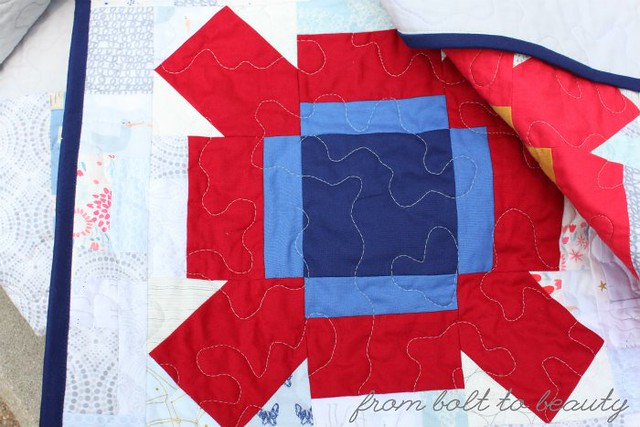
Look! I can free-motion quilt!

I like straight-line quilting, and the motifs I can create with a straight stitch and walking foot usually serve me well. Every 12 to 18 months, however, I decide that I need to face my fear of free-motion quilting (FMQ). After all, FMQ has its perks. I like the idea of quilting without doing much, if any, marking (and I almost always mark when I straight-line quilt). Plus, some quilt designs require the softening that only FMQ’s swirls and loops can provide.

These forays into FMQ follow the same pattern: I get out my darning foot and plate, watch some videos online, give FMQ a shot, and throw in the towel when I’m not great at it from the get-go. In the end, all I’ve wasted is some thread and practice quilt sandwiches.

My most recent attempt was different, though. I started by hanging out with a friend—someone I consider an expert in FMQ—to pick her brain and practice a bit. And it was hard. I had to focus on so much! So we talked about different ways I could practice, improving my approach and building my muscle memory.

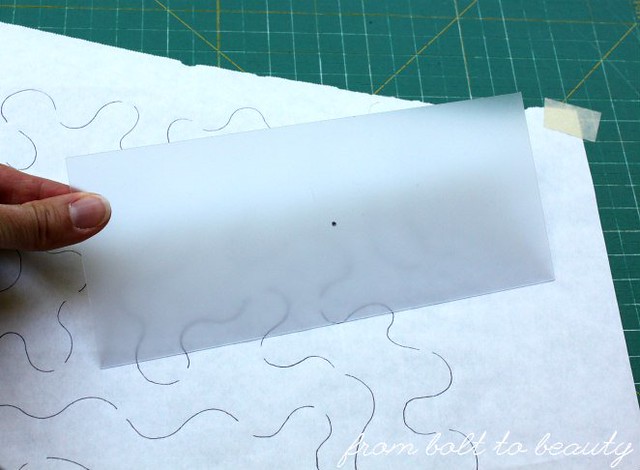
I ended up making some compromises. First I invested in some inexpensive stencils, figuring they’d help me work on maintaining a consistent stitch length and making pretty, round corners without having to think about where I was headed next with my quilting. Then I practiced with a stipple stencil. I’m not crazy about the look of stippling, but it’s forgiving—a good FMQ design to start with. I traced my stipple stencil on some freezer paper, taped it to my cutting board, and using a simple rectangle of leftover template plastic marked with a black dot, pretended I was moving a quilt under the needle of my machine. Then I moved to quilting practice sandwiches. Finally, I moved on to an actual quilt.

This was my simple solution to working on my muscle memory.

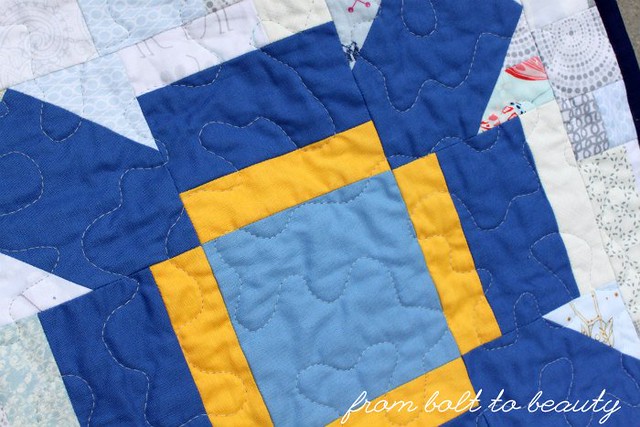
In the end, the experience went better than I thought it would. I offset each row of stippling to camouflage the fact that I used a stencil, and that worked well. Whenever things got too wonky, I stopped quilting, tied off the thread at a good spot, and buried the ends. It wasn’t efficient, but I wanted the final quilt to be good enough to gift. Of course, with the stencil, I had to mark every line of quilting with a water-soluble marker. Oh well—I did what I had to do to make FMQ work for me!

This was the ideal project to work on my FMQ. A lot of imperfections were
camouflaged by the gray thread and improv background.

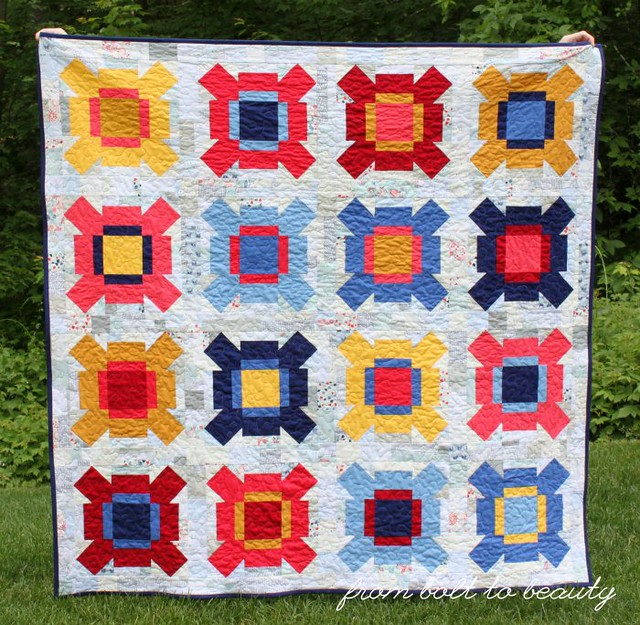
Here is the finished quilt! Read more details here.

I haven’t done any FMQ since that project, so I suspect my next attempt will require a lot of practice again. That’s fine with me—I have the confidence to make it happen a second time.

Are you into FMQ? What words of wisdom can you share with a newbie like me?

Linking up to Let’s Bee Social ...

Follow on Bloglovin